
Your Trezor broke, or you wiped it, or it simply isn’t in the drawer any more. None of that is the same as losing your crypto. The coins never lived inside the device; they sit on the blockchain, and the words you copied out during setup are what rebuild the keys that move them.
Trezor’s own name for that list is a wallet backup. Most people still say recovery seed, or seed phrase.
Work through this guide and an old wallet will be running on a Trezor again, balances showing in Trezor Suite. Four things are needed: the device, a computer with Trezor Suite on it, the backup you wrote out by hand, and a room where nobody can see over your shoulder. Nearly all the typing happens on that small device screen instead of the computer, and the whole security model depends on it.
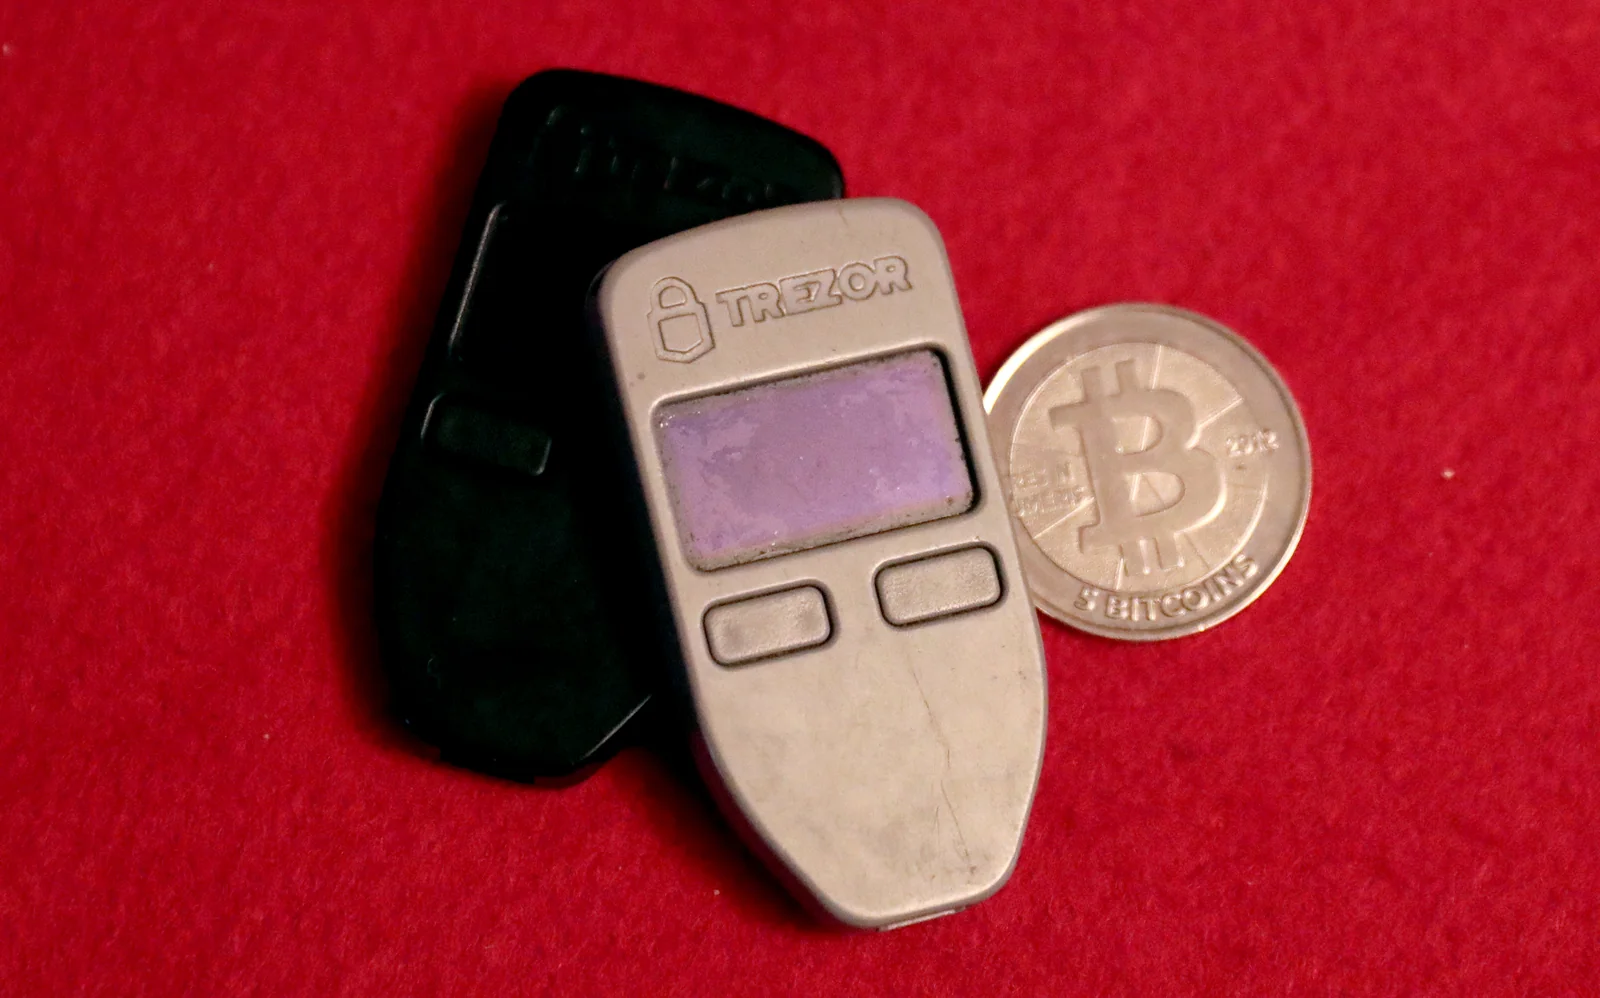
Table of contents
Get These Things Together First
Have all of it to hand before anything gets plugged in.
- Any Trezor will do. Safe 7, Safe 5, Safe 3, Model T, Model One: they all take the same backup.
- Trezor Suite, which is the official app. Grab it from trezor.io on a computer, or from Google Play and the App Store on a phone.
- The whole backup, written out. BIP39 lists run to 12, 18, or 24 words, while SLIP39 lists run to 20 or 33.
- Enough shares to meet your threshold, assuming you made a Multi-share Backup. Trezor also calls that one Shamir Backup.
- The passphrase, on paper, if you ever set one up.
- Somewhere private, with no cameras pointing at you. Trezor’s advice is to pick a private spot and never record, photograph, or read the backup out loud.
Whoever holds those words holds the wallet. A PIN won’t slow them down, because the backup opens your crypto on any device they choose.
So type the words only when the Trezor itself asks for them, and believe nothing except what’s on that little screen. Any site that wants all your words in a row is running a scam.
The same care applies once you start moving coins again. Pick the wrong network or paste the wrong address and the funds are gone, and nobody can reverse it.
If the old device is dead, there’s shopping to do first. Trezor pulled the Model One and the Model T from its e-shop on January 8, 2026, though official resellers may still be sitting on stock. What’s left is the Trezor Safe 3 at $59 at the time of writing (September 2026), the Trezor Safe 5 at $129, and the Trezor Safe 7 at $249.
Every one of them accepts the backup you already have. We’d point most people replacing a dead unit at the middle model, and our Trezor Safe 5 review goes through it properly.
How to Recover a Trezor Wallet From a Seed Phrase, Step by Step
Step 1. Work out which kind of backup you’re holding
Start by counting the words. A list of 12, 18, or 24 is BIP39. A list of 20 or 33 is SLIP39, which Trezor markets as a Single-share Backup, and that 20-word version has been the Safe family default since June 2024.
Holding more than one list? Then it’s a Multi-share Backup, built around a threshold. A 2-of-3 setup hands you three shares, and any two of them bring the wallet back.
Sorting this out now beats guessing at the word-count screen later.
Step 2. Wipe the Trezor if a wallet is already on it
No Trezor will stack a second wallet on top of one it already holds. Brand new device, or one you’ve already cleared? Jump ahead to Step 3.
Otherwise, open Device Settings through the gear icon, choose the “Device” tab, scroll to the “Danger Area” at the foot of the page, and hit “Wipe device”. Tick off the warning that everything on the device gets deleted, then hold the right button down on the Trezor itself.
Wiping through Suite leaves the firmware where it is. Locked out because the PIN is gone? That calls for a factory reset in bootloader mode instead.
On a Trezor Safe 3 you plug the device in with the left button held down, tap the right button for “Menu”, pick “Factory reset”, squeeze both buttons, and finish with the right button on “RESET”.
Step 3. Get Trezor Suite open
Pull Trezor Suite down from trezor.io on a computer, or install the phone app from Google Play or the App Store. Plug the Trezor in and wait out the firmware check and the device authenticity check.
Do the recovery itself on a computer. iOS gives only the Safe 7 full compatibility, and older models are stuck with portfolio tracking, buying, and receiving.
Step 4. Hit “Recover wallet” in Suite
Fresh out of the box, the button reads “Setup my Trezor”. Straight after a wipe it reads “Yes, Set up my Trezor”. From either one, choose “Recover wallet”, then “Start recovery”, and confirm on the device.
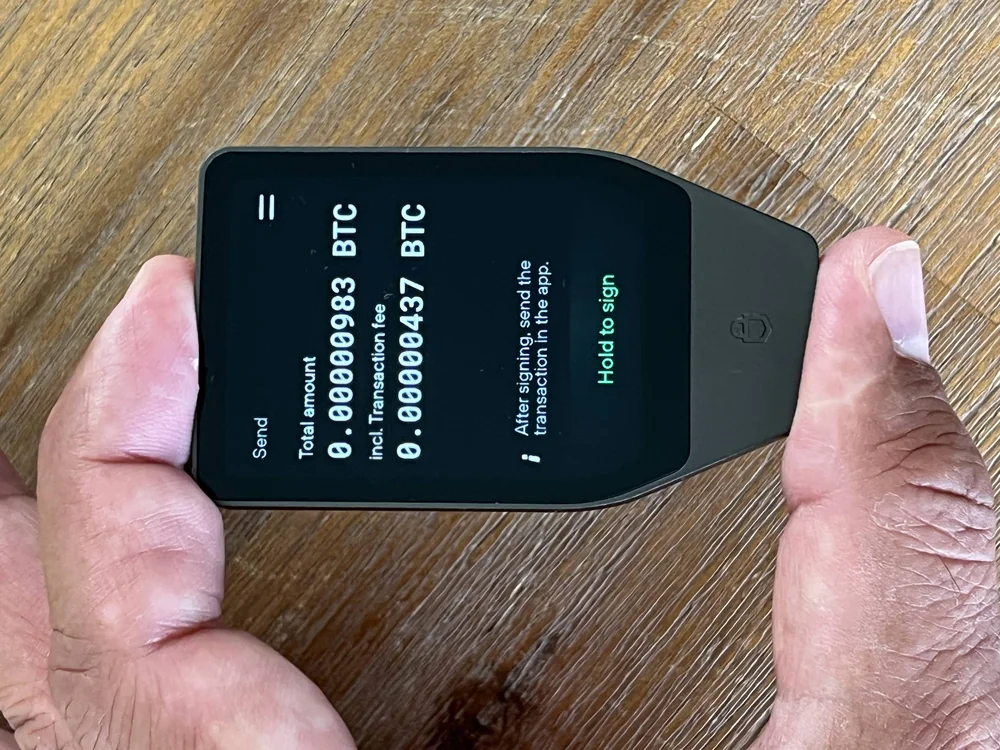
Next the Trezor wants its terms accepted. A Safe 5 asks you to confirm Terms and Conditions on the touchscreen, a Safe 7 asks you to hold to continue, and a Safe 3 wants the right button pressed under “Recover wallet”.
Step 5. Tell it how many words you have
Choose the number on your card, not whatever the screen suggests. The Safe 5 opens on 20 words and offers 24 as the alternative. Model T opens on 12, and Model One opens on 24.
Model One owners get a second choice here, between “Standard recovery” and “Advanced recovery”. The advanced route runs a blind matrix, keeping the numbers on the device so your computer never sees the layout. Press Confirm once you’ve picked.
Step 6. Type the words on the Trezor itself
Safe 7, Safe 5, and Model T all use a T9 keyboard on the device. One tap per letter on each tile, and the choices narrow as you go. Spelling “best” on a Model T means “abc” twice, “def” twice, “stu” once, “stu” twice, then confirming whatever appears in the top-right corner.
A Safe 5 wants a tap on the green checkmark for every word. The Safe 3 has no touchscreen, just two buttons, so you walk the right button through the suggestion list and select the match.
After four letters the device finishes the word for you, which is exactly what BIP39 had in mind when it said four letters ought to pin down a word with no ambiguity.
Then there’s the Model One, which catches out more readers than anything else here. Its words get typed into Suite on the computer, in whatever order the device puts on screen.
That order is not the order on your card. Trust the device.
Step 7. Feed in the rest of your shares
Split backups need “Enter share” selected, then the words typed on the device. Order between shares doesn’t matter. Order inside a share does.
Prompts keep coming until the threshold is met. Staggered recovery is the clever part: unplug the Trezor between shares and it still remembers that it’s mid-recovery and which shares it already has. You can visit each share where it lives rather than bringing them all under one roof.
Trezor wants that final share entered with Suite connected on a computer, and a PIN set straight afterwards.
Step 8. Read the success message, then lock it with a PIN
“Wallet recovery completed” is what a Safe 5 puts on screen. A Model T throws up a “Recovery complete” window in Suite for you to click Continue on. Safe 3 and Safe 7 both finish with a press on “Continue”.
Set the PIN now, before anything else. All it guards is the physical device in your hand. The words on your card are a separate problem, and one we come back to below.
Step 9. Open the passphrase wallet, if that’s where your coins are
A passphrase is an extra word or phrase layered on the same backup to unlock a different wallet. Up to 50 ASCII characters, and case matters. Change one character, even by accident, and you land in a completely separate wallet.
Desktop route: Settings, then Device, then switch on “Use Passphrase wallets”. The wallet switcher at the top left gives you “+ Passphrase wallet”, then “New passphrase”, plus “Enter passphrase on Trezor” if you’d rather it never touched the keyboard. You’ll type it twice, confirming on the device both times.
Phones take a different path: wallet menu, “Device settings”, “Use Passphrase wallets”, then “Open passphrase”. Safe 7, Safe 5, Safe 3, and Model T all accept the passphrase on the device. Model One doesn’t, so there it has to go through Suite.
Settings Worth Fixing in Trezor Suite Once You’re In
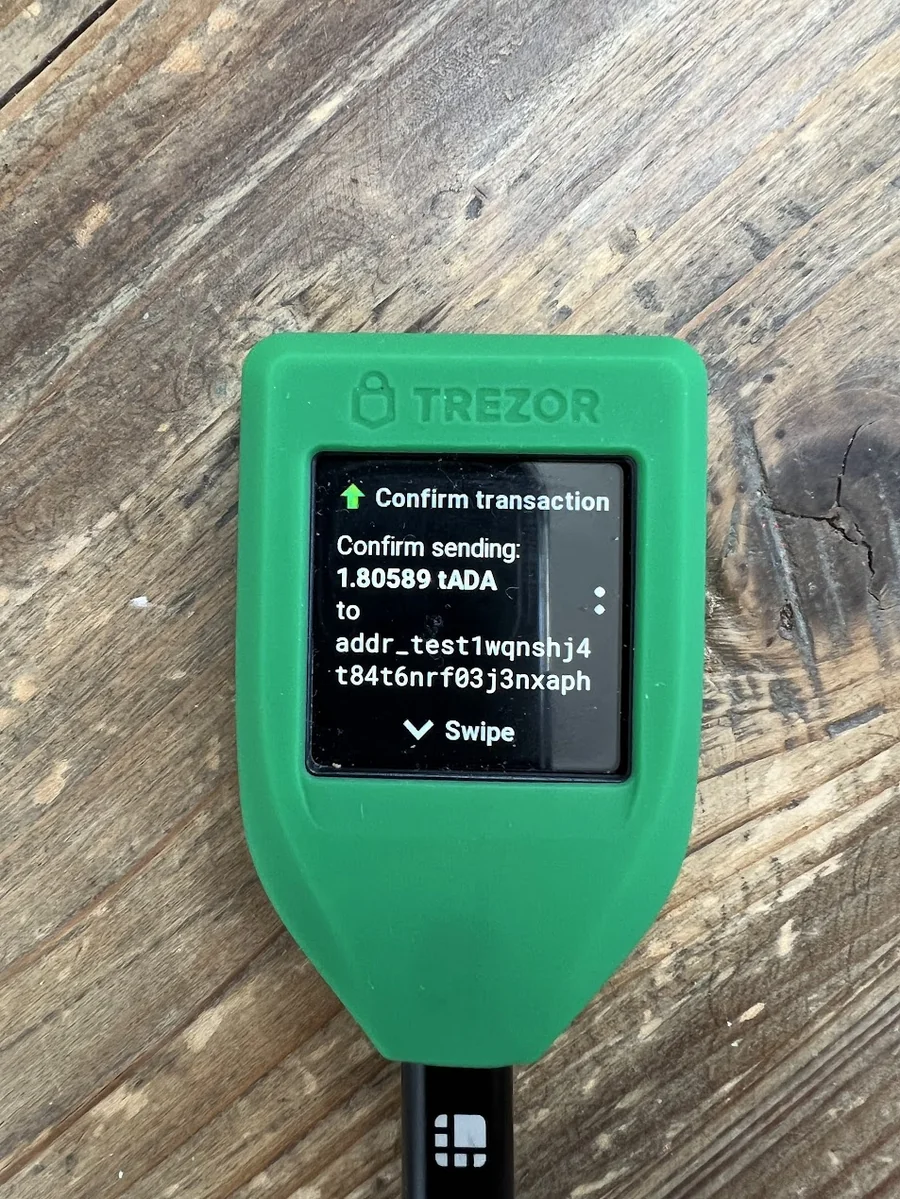
Four settings deserve a look the minute recovery wraps up. We checked every one against Trezor’s own documentation in September 2026.
| Setting | Where to find it | Why bother |
|---|---|---|
| Networks | Settings > Networks | Your asset stays invisible while its network is switched off. |
| Check backup | Device Settings > Wallet backup > Check backup | Proves the card in your safe really matches the wallet on the device. |
| Use Passphrase wallets | Settings > Device | Nothing hidden will open until you turn this on. |
| PIN | Device Settings | Keeps a stranger who pockets the device from getting in. |
Check backup gets skipped by nearly everyone. Tick “I understand”, click “Start”, give it your PIN, confirm the word count, and type the backup out again.
What happens next is a comparison: the device weighs your words against the ones it stores, reports a match or an error, and changes nothing at all. Trezor has been calling this dry-run recovery for years.
Pass it and a confirmation appears on the device screen, after which you click “Close” in Suite. Fail it, and you get out by pressing the “X” in the bottom left of the “Select the number of words in your backup” screen.
So How Long Will This Take?
No timing figure comes from Trezor, and a single number wouldn’t help much anyway. Entering 12 words on a touchscreen goes fast. Doing 24 on a two-button Safe 3 does not, and a 2-of-3 Multi-share Backup doubles everything you type.
What really drags has nothing to do with the keyboard. Suite goes looking for accounts on every network you switch on once the wallet loads, and a wallet carrying years of history across several chains needs a while to catch up.
Staggered recovery is slowest of the lot, since one of your shares might be sitting in a bank box on the other side of town.
When Recovery Goes Wrong, and What Fixes It
- The wallet opens with nothing in it. Head to Settings > Networks and make sure the right network is switched on.
- One word keeps getting rejected. Compare it against the word list letter by letter, since pairs like “boy” and “box”, or “aware” and “awake”, catch plenty of people.
- All the words go in, but none of the addresses look familiar. Odds are you’ve restored a different wallet, so run Check backup and see which one the device is holding now.
- Nothing shows up, and you do use a passphrase. Open it with “+ Passphrase wallet” on desktop or “Open passphrase” on mobile, remembering that case and spaces both count.
- Nothing shows up, and you don’t use a passphrase. Check that you haven’t typed one out of habit, because that just opens another empty wallet.
- Model One words go in and match nothing at all. Follow the order the device shows you instead of the order on the card.
- The words were never written down and the old wallet is unreachable. There’s no fix, and Trezor can’t help either, because it has no control over your backup.
One more case is worth spelling out. When a backup failed during setup and funds are still sitting in that wallet, move the crypto somewhere else first, and only then wipe and reinitialize. Setup shows a backup once and will not show it again.
Habits That Keep Your Backup Safe
- Move a small test amount into a recovered account and watch it land before you shift the rest.
- Read every receive address off the Trezor screen rather than the browser, because malware rewrites what a computer displays.
- Keep nothing digital. Trezor calls out screenshots, photographs, emails, and Dropbox by name.
- Nobody from Trezor will ever ask for your wallet backup, support staff included, so treat anyone who does as an impostor.
- Fire and water ruin paper. Stainless steel or titanium survives, which counts most when one BIP39 list is the only thing between you and a dead wallet.
- Leave burying it alone. Trezor warns that damp ground eats the material and that people forget the spot.
- Try a passphrase wallet before you put money in it. Write down the first receive address, eject both wallets, key the passphrase in again from your written copy, and see whether the same address comes back.
Prefer metal to card? Our Cryptotag Zeus review looks at one way of doing it, and Trezor sells its own Keep Metal. If addresses themselves are new ground, read what a wallet address is before you start moving money.
Trezor Recovery FAQ
Can I recover a Trezor wallet if the device itself is gone?
Yes. Your backup is the wallet, and a Multi-share Backup also restores in Rabby, Electrum, Sparrow, BlueWallet, Wasabi, or on a Keystone. We’d still send you to a fresh Trezor, because that way the words never meet an internet-connected computer.
How many words is a Trezor backup supposed to be?
That depends on the standard behind it. BIP39 gives you 12, 18, or 24 words, while SLIP39 gives you 20 or 33. Since June 2024, the 20-word Single-share Backup is what the Trezor Safe family creates by default.
Does my Trezor have to be wiped before I recover a wallet?
Only when it already holds one. With your PIN in hand, use Wipe device in the Danger Area of Device Settings. Without it, run a factory reset from bootloader mode.
The Model One and Model T are discontinued. Can they still be recovered?
Yes. Both left the Trezor e-shop on January 8, 2026, but the Model One still gets maintenance until at least 2031 and critical security fixes until at least 2036. Trezor’s line is that your device keeps working as usual and you still have access to your funds.
Why does my balance read zero after recovery?
Three usual suspects. The network is off under Settings > Networks, or the backup you typed belongs to a different wallet, or your coins sit behind a passphrase you haven’t opened yet. Check backup will tell you which wallet is actually on the device.
Can Trezor’s support team get my wallet back if the words are lost?
No, and nobody else can either. Trezor never had control of your backup, so an unreachable wallet with no backup stays unreachable.
Is typing my seed phrase into Trezor Suite safe?
On a Model One it has to happen that way, since the model has no on-device word entry, and even then only when the device asks. Every newer model takes the words on its own screen. Treat any website that wants your words in sequence as a scam.
Wrapping Up
Five things carry the whole job. Know which backup you’re holding, wipe the device if a wallet is already on it, choose “Recover wallet” in Suite, put the words in on the device screen rather than the computer, and set a PIN the second it finishes.
Balance looking wrong afterwards? Check Networks first, then ask yourself whether a passphrase is hiding the coins. And run Check backup once, so you know the card in your safe is worth what you think it is.
Still weighing up the older models? Our Trezor Model One review and Trezor Model T review set out what each one can and can’t do. Every label quoted above came from Trezor’s own backups and recovery knowledge base.
This article is for general information only and is not financial, legal, or investment advice. Prices and features change; check the vendor’s official page before buying.