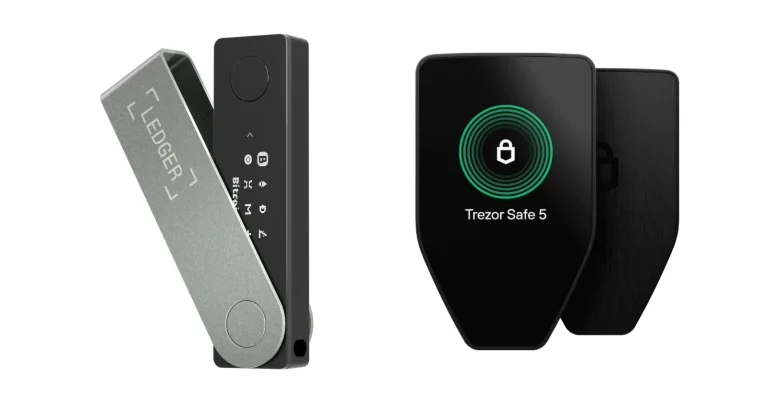

At $59 at the time of writing (September 2026), the Ledger Nano S Plus is the cheapest door into Ledger’s line-up. Work through the pages below and you’ll end up with a device that has a PIN on it, two dozen words on paper, a genuine check behind it, and whichever coin apps you actually use.
You’ll want the box, a computer with Ledger Wallet on it, and a room nobody else can see into. Ledger doesn’t quote a setup time for this model, so we’d block out half an hour and flatly refuse to hurry the backup.
Every phrase in quotation marks below is lifted from Ledger’s own setup page for this device, which it last revised on 09 July 2026.
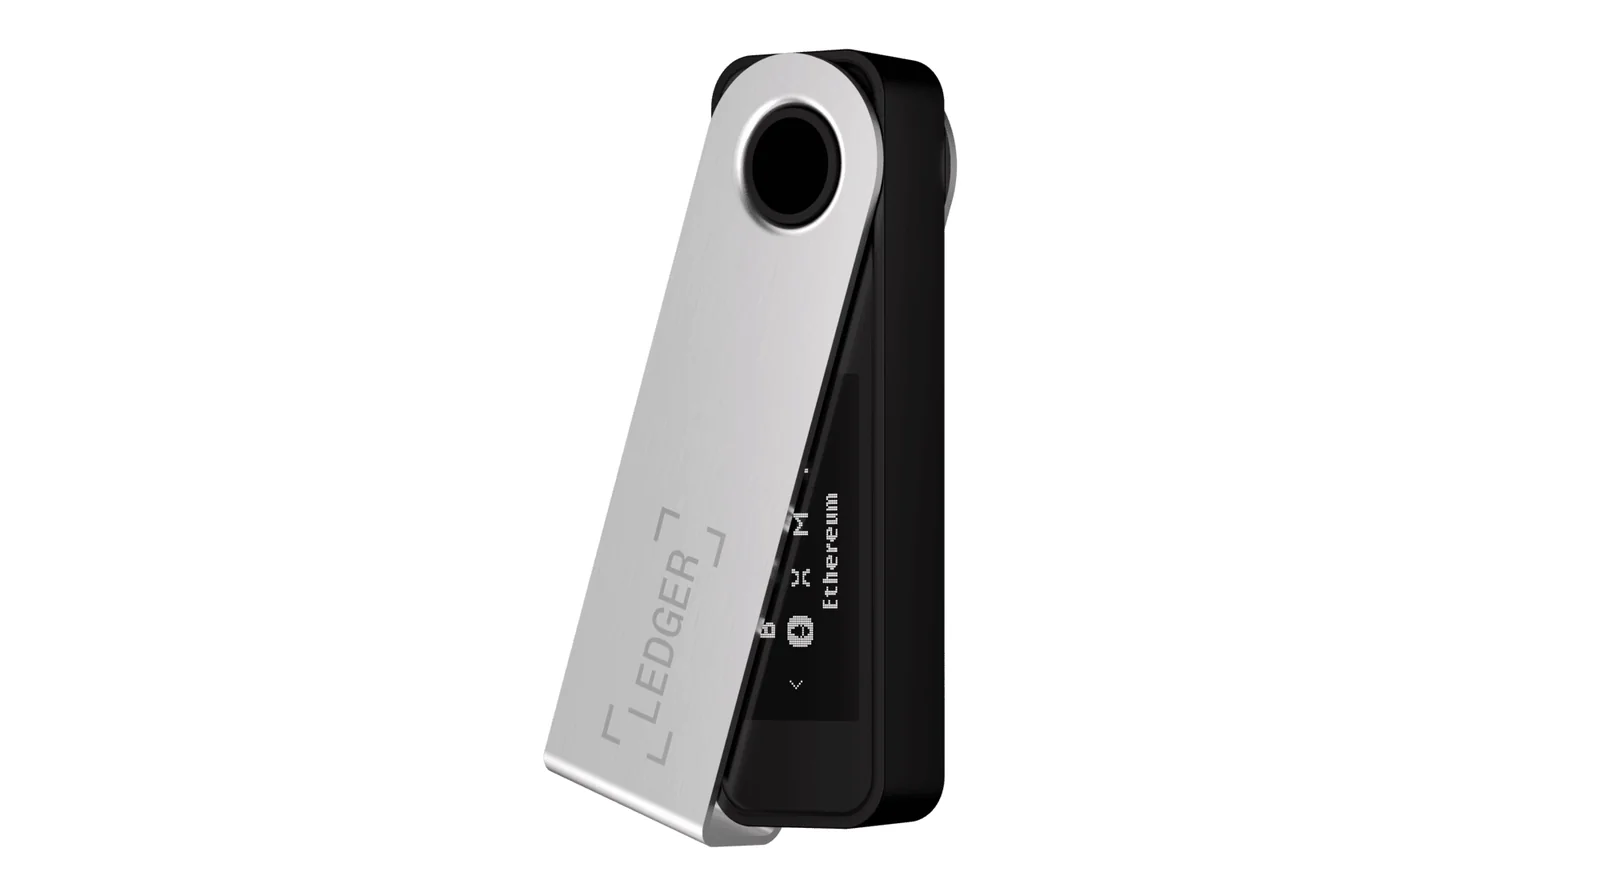
Table of contents
What to Line Up Before You Open the Box
Put it all on the desk first. Bad backups usually start with somebody rummaging for a pen while two dozen words wait on a screen.
- A Nano S Plus that reached you through a channel Ledger recognizes. Its own list runs Ledger.com, official Amazon stores in 18 countries, and its authorized distributor and reseller network, and it says devices from elsewhere “are not necessarily dubious” while still wanting you to run the safety checks.
- A desktop or laptop computer. There’s no Bluetooth and no battery in this one, and Ledger’s comparison table gives its Ledger Wallet support as desktop plus USB on Android. iPhones are out.
- The cable that shipped with it, which Ledger’s store lists as USB-C to USB-A. Your computer therefore needs a USB-A socket, or an adapter for one.
- Ledger Wallet, the app that used to be Ledger Live, already downloaded and sitting on that computer. Ledger treats this as a precondition rather than a step.
- An unused Recovery Sheet and something to write with. Three of them come in the box, and Ledger’s line is that a sheet with words already on it means the device isn’t safe to use.
- A PIN you’ve already decided on, anywhere from 4 to 8 digits. Ledger puts it like this: “An 8-digit PIN offers an optimal level of security.”
- Somewhere private. Shut the door, kill the video call, and check that no lens is pointing at your desk.
Now the part to read twice, before a single coin moves. Fire a transfer at the wrong address, or push it out over the wrong network, and that money is simply gone. No reversal exists: not from Ledger, not from whichever exchange you sent it from, and not from you.
Haven’t handled addresses before? Five minutes on our explainer covering what a wallet address is will save you grief later.
How to Set Up a Ledger Nano S Plus, Step by Step
What follows is nine steps in sequence. We took the wording from Ledger’s official setup article written for this exact model.
Step 1. Look at the Box Before the Device
Cardboard first, USB port second. Ledger’s store says a Nano S Plus box carries the signer itself, a USB-C to USB-A cable, three Recovery Sheets, a keychain strap and a safety and regulatory leaflet.
Its genuine-check page goes further on the same box, throwing in an envelope with a Get started leaflet and a set of stickers. That page also mentions something that’s gone: the Trust Yourself sheet no longer ships with this device.
Only one detail here can’t be shrugged off, and it’s the Recovery Sheets. Blank is the only acceptable state, since Ledger “never provides a 24-word Secret Recovery Phrase in any way, shape, or form”. Find writing on one, or meet a PIN prompt the first time you power up, and Ledger’s instruction is to halt and contact its support team.
Step 2. Get Ledger Wallet Onto Your Computer
Ledger Live carries a new name these days, Ledger Wallet, and the setup article expects it installed before you touch the device. Most of what happens next is driven from that app, which Ledger describes as carrying interactive setup instructions.
Supported systems, per the setup article, are Windows 10 or 11, macOS Big Sur, Monterey or Ventura, and Ubuntu LTS 20.04 or 22.04, all of them 64-bit and none of them on ARM chips. Ledger’s USB troubleshooting page draws a tighter line, claiming the current release runs only on Windows 10 or above and macOS 12.0 or above. Two official pages, two answers, which is worth knowing if you’re on something older.
Grab the desktop build and nothing else. Ledger flags the mobile version as a source of connection trouble when people install it on a computer.
From the welcome screen it goes “Get started”, then “Connect”, then pick your device and hit “Select”. Fresh out of the box means choosing “Set up a new device”.
Step 3. Wake the Nano S Plus Up
Plug the device into your computer using the cable from the box. Across that little screen you should see “Welcome to Ledger Nano S Plus. Press right button to continue.”
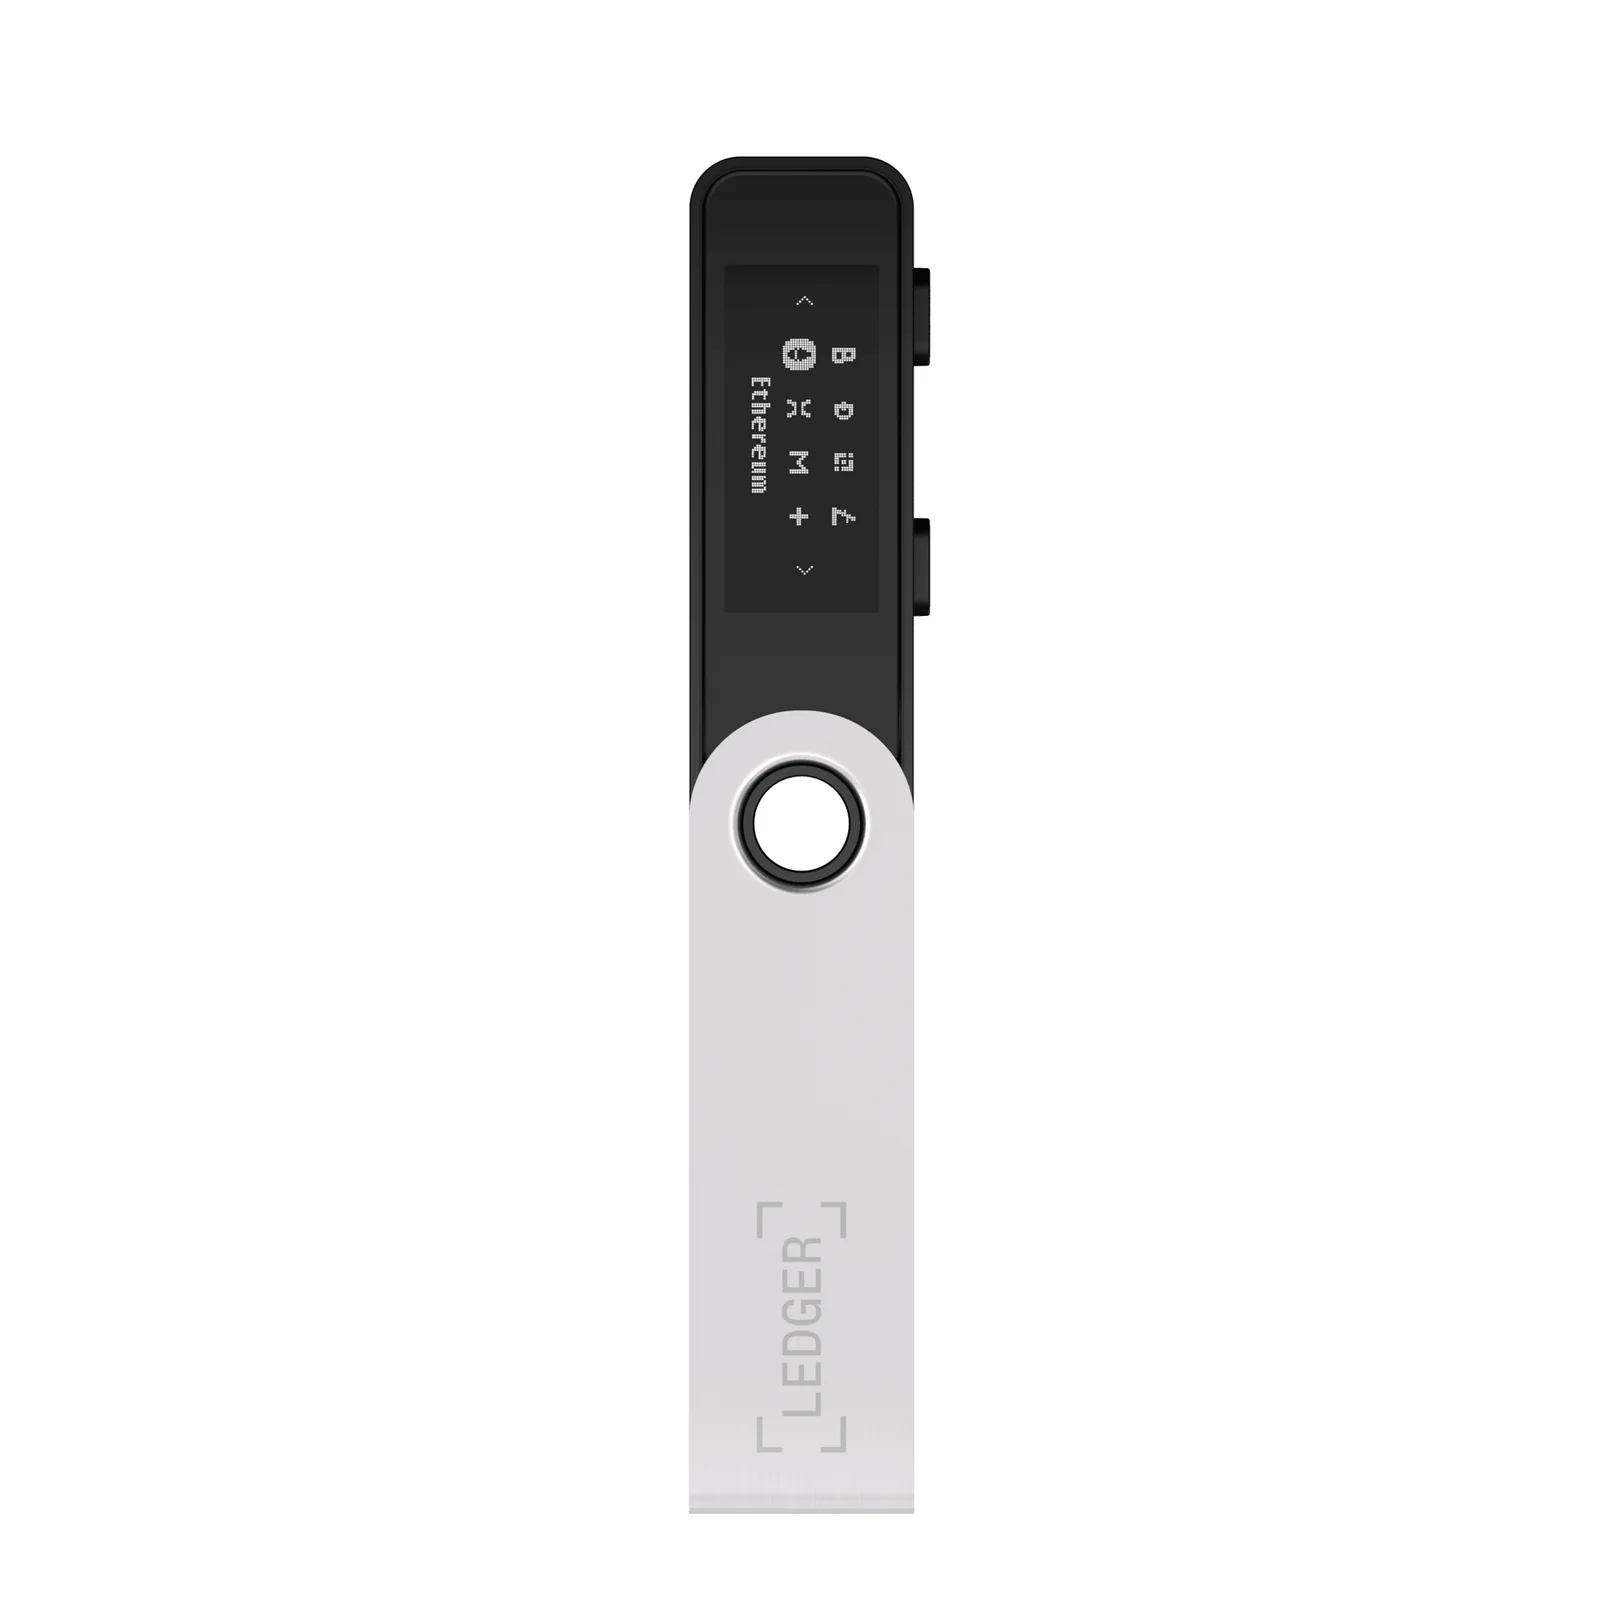
Tap the right button to walk through the on-screen instructions, then squeeze both buttons at once to land on “Set up as new device”. Those two buttons are the entire control scheme, and it takes a minute to stop fumbling them: left or right to move, both together to choose.
Ledger doesn’t soften the warning attached to this step. Get in touch with the company if the device asks for a PIN straight away, because it may not be safe to keep using.
Step 4. Settle On a PIN
When “Choose PIN with 4 to 8 digits” shows up, press both buttons. Right or left scrolls you to the digit you want, both buttons enter it, and you keep repeating that until somewhere between four and eight digits are in.
The checkmark plus both buttons locks it in. A backspace icon rubs out a digit you got wrong. After that the device makes you type the whole thing again.
Ledger’s guidance runs to two lines: pick the PIN yourself, and eight digits buys you what it calls an optimal level of security. Anything that turns up with a PIN already loaded should be going back to the seller.
Miss three times running and the device factory resets, dragging every app and setting down with it. Working exactly as designed, yes. It’s also a genuine headache if the PIN slips your memory, because Ledger can’t dig it out for you and the only road back runs through those 24 words.
Step 5. Copy Out the 24 Words
Pull an unused Recovery Sheet out of the envelope, then press both buttons at “Write down your recovery phrase”. Right button through the instructions, both buttons to carry on.
Up comes “Write word #1”. Copy it into slot 1, read it back against the screen, then press the right button for “Write word #2”. Repeat, dully and carefully, all the way to “Write word #24”.
According to Ledger, this phrase is the sole backup of your private keys, and the device shows it to you exactly once. If you want a second look before committing, the left button is the way to scroll back over the words.
Storage is where Ledger stops hedging. Whoever gets hold of your Secret Recovery Phrase can help themselves to your assets, and the company holds no copy of those 24 words anywhere. So: no photo, no password manager entry, no note synced to a cloud account.
Step 6. Let the Device Quiz You
Both buttons again, this time on “Confirm your recovery phrase”. Specific words get asked for, and you scroll to each one with the left or right button before validating it with both.
Pass the quiz and the screen reads “Your Recovery phrase is set. Keep it in a secure place”, which is the device’s way of saying you’re done with the hard part. Right button through whatever instructions remain, both buttons to continue, and “Processing” gives way to “Your device is now ready”.
Three seconds of holding both buttons opens the Control Center. Apps and settings both live behind it.
Bringing an existing wallet across instead? In Ledger Wallet you’d pick “Restore your recovery phrase on a new device”. Anyone stepping up from a Ledger Nano S gets the same instruction from Ledger: restore the existing 24-word Secret Recovery Phrase onto the newer device.
Step 7. Make the Nano S Plus Prove It’s Real
Under the plastic sits an ST33K1M5 Secure Element carrying CC EAL6+ certification, with a secret key burned into it on the production line. That key is what lets real hardware produce the cryptographic proof Ledger’s server wants, and counterfeits can’t fake it.
Over in the security checklist, the button you want says “Check my Nano”. Squeeze both buttons on the device to let Ledger Wallet reach it.
Then click “Continue” as soon as “All Good! Your Ledger device is genuine and ready to use with Ledger Wallet.” appears.
Nothing stops you doing it again next month. A silent genuine check fires off whenever the device connects to My Ledger, and you can trigger one by hand from the Profile menu under Settings, Help, Device Setup.
There’s a gap in all this that Ledger admits to. Physical tampering, spying implants included, slips past the check whenever the original Secure Element is still in place.
Ledger Recover surfaces somewhere in onboarding too. Think of it as an optional recovery service built on identity documents, and the “X” in the corner sends it away so setup carries on.
Step 8. Load the Apps, Then Add an Account
Each coin you hold wants an app of its own on the device. Click the Profile icon at the top right of Ledger Wallet, choose “My Ledger”, connect and unlock the device, and press both buttons at once to let the connection through.
Find what you need in the “App catalog”, click “Install”, and “Processing…” shows up on the device while it works. Ledger rates the Nano S Plus at up to 100 simultaneously-installed apps on its 1.5 MB of storage, with the honest caveat that app sizes differ so the real number does too.
One shortcut saves a lot of space. Because the Ethereum app natively supports every EVM-compatible chain, you don’t need a separate app per network, although dependent apps such as XDC still expect the Ethereum app to go on first.
An account comes next. Open the “Accounts” tab, click “Add account”, choose the asset in the “Select Asset” drop-down, open that blockchain app on the device, then click “Confirm”.

Since apps carry nothing sensitive, wiping one and putting it back costs you precisely nothing. Your private keys never leave the device.
Step 9. Test With Small Money First
Hit “Receive” on the home page, choose “Via Crypto address”, pick your account and click “Continue”. Open the blockchain app when the app tells you to, then click “Verify” so an address lands on the device screen.
Hold that address up against the one in Ledger Wallet, and approve it on the Secure Screen only if the two agree. Ledger has built the flow so the receive window won’t close until you’ve either approved or rejected on the device, which we think is the right call.
Small first is Ledger’s own advice, and it’s ours as well: send a token amount, watch it arrive, then send the rest. Give the address another glance after pasting it somewhere, and lean on “Re-verify” to throw it back onto the device screen.
Pulling coins off an exchange brings one extra trap with it. The withdrawal network you choose over there has to match your account’s network, warns Ledger, or the assets won’t turn up in Ledger Wallet at all.
Handled a two-button Ledger before? Our walkthrough on how to set up a Ledger Nano X runs through the same motions on the Bluetooth model.
Ledger Nano S Plus Settings We’d Look At First
None of the defaults are broken. A handful of options still deserve a look once the wallet exists. Hold both buttons for three seconds to reach the Control Center, then move around with the left and right buttons.
| Setting | Where it hides | Why we’d open it |
|---|---|---|
| “Change PIN” | Settings, then Change PIN | Swaps out a PIN you’ve tired of and leaves the wallet alone. Pick 4 to 8 digits, repeat them, then key in the old PIN to finish. |
| Ledger OS update | Ledger Wallet, then My Ledger | Version 1.6.1 landed on 11 May 2026 carrying a security improvement, and Ledger pushes hard for you to stay current. |
| OS language | Settings on the device | Brazilian Portuguese, German, Russian and Turkish showed up in OS 1.3.0. The coin apps themselves stay English. |
| “Uninstall all apps” | Settings, then Reset | Frees up room and touches none of your keys, since apps store nothing sensitive. |
| Bug reports | Ledger Wallet, Settings, General | Controls the anonymous crash data heading to Ledger. We’d leave it switched off. |
| Ledger Wallet password | Ledger Wallet, during setup | Optional, and we’d take it if the household shares a computer. Forget it and you reset the app, not your holdings. |
That last one deserves a footnote. Lose the app password, says Ledger, and you’ll be resetting Ledger Wallet and adding your crypto accounts back, none of which touches the assets themselves.
How Long Does a Ledger Nano S Plus Setup Take?
No official number exists for this device, so we’d be wary of anyone quoting one. Where the time actually disappears is easier to pin down.
Your broadband sets the pace early on, because Ledger Wallet has to download and install before anything else can happen. Powering up the device and picking a PIN take almost no time next to that.
Then the backup arrives, and it drags on purpose. Words come one at a time across a 128 x 64 pixel display, the right button nudges you forward, and at the end the device demands particular words back. Hurrying this bit is the one error that bites hardest.
Whatever follows is the blockchain’s business, not the device’s. Ledger’s position is that once you’ve verified an address you can unplug safely, because coins travel over their own network and nothing physically arrives inside the Nano S Plus.
When the Nano S Plus Won’t Play Along
- The computer behaves as if the port is empty. Reach for the boxed cable, because Ledger points out that plenty of charging cables skip the data pins and will happily power a device that then can’t say a word.
- You’re sure the cable is home and still nothing happens. A new device’s USB-C port can be stiff, Ledger notes, so lean on it a little.
- Windows shows you nothing at all. Right-click the Start menu, open Device Manager, and hunt under “USB (Universal Serial Bus)” for Ledger Nano S Plus; an absence there points at the cable, the adapter or the port.
- It shows up in the list yet refuses to connect. Kill a VPN, firewall, proxy or anti-virus, or simply try a different USB port.
- Windows is still being awkward. Right-click Ledger Wallet, choose “Run as administrator”, and bear in mind that Windows “S mode” blocks the app from reaching the device entirely.
- Mac owners should press Command + Spacebar, open “System Information” and look for the device under “USB (Universal Serial Bus)”. Full Disk Access under System Settings, Privacy & Security may be wanted too, along with “Always allow accessories to connect”.
- Some other wallet is getting in the way. Ledger wants every application and browser extension closed beforehand, and it names MetaMask, Daedalus and MyEtherWallet specifically.
- The genuine check spins forever without finishing. Follow Ledger’s USB troubleshooting steps, and make sure the device is unlocked with your PIN before you kick it off again.
- Your Android handset can’t see anything. An OTG cable is the missing piece, and you may also need to switch on the “OTG” or “USB OTG” option in Android’s settings, which some phones turn back off after roughly 10 minutes of disuse.
- You were hoping to use an iPhone. That’s a no, and Ledger says so flatly: the Nano S Plus doesn’t work with iOS devices.
- An app refuses to install. Look at the free storage inside My Ledger, and remember that dependent apps like XDC want the Ethereum app in place first.
- The PIN has gone out of your head. Nothing recovers it, so three failed attempts wipe the device and you rebuild from your 24 words.
Habits Worth Keeping Once You’re Set Up
- Move a token amount and let it land before anything bigger follows it. Ledger says the same, so this isn’t only us being twitchy.
- Trust the little screen ahead of your monitor. Addresses on the Secure Screen come out of the Secure Element, whereas the one your software draws can be meddled with.
- Look at the address one more time after copying and pasting it. Clicking “Re-verify” throws it back onto the device, which Ledger recommends and which costs you a second.
- Turn down anything that doesn’t match. Ledger’s wording is to select Reject on the device and send nothing to it.
- Those 24 words stay away from keyboards, cameras and cloud accounts. Ledger holds no copy, and whoever reads them owns your assets.
- Stay on top of Ledger OS, which the company repeats on every set of release notes. Version 1.6.1 came out on 11 May 2026.
- Skip the “Don’t have your device?” shortcut when you’re receiving. An address generated that way never gets verified on the device, and Ledger admits it doesn’t reach the optimal level of security.
Curious how this one stacks up against its siblings and rivals? Our Ledger Nano S vs Nano X piece covers the family, the roundup of the best crypto hardware wallets widens the field, and Ledger vs Trezor boils it down to the two names most buyers argue over.
Ledger Nano S Plus Setup FAQ
Can a Ledger Nano S Plus be set up without a computer?
Barely. The setup article expects Ledger Wallet running on a computer, and this model carries no Bluetooth radio at all. Android handsets can talk to it over USB using an OTG cable, while iPhones cannot connect in the first place.
What if you forget your Ledger Nano S Plus PIN?
Three misses in a row and the device factory resets, stripping out every app and setting along the way. Nothing at Ledger can dig a forgotten PIN back out. Rebuilding the wallet then depends entirely on your 24-word Secret Recovery Phrase.
How many digits should a Ledger Nano S Plus PIN have?
Anywhere from 4 to 8, though Ledger reckons eight gives you an optimal level of security. It also insists the PIN be yours, and warns you off any device that shows up with one already configured.
How many apps will a Ledger Nano S Plus hold?
Up to 100 at once, according to Ledger, spread across 1.5 MB of storage, with the practical figure moving depending on how large the apps are. None of them keep anything sensitive, so pulling one off and putting it back leaves your keys untouched.
Has the Ledger Nano S Plus been discontinued?
Not at all. It’s still on sale at $59, still listed in stock across seven colors, and Ledger files it under a range it now calls Ledger Nano Classics.
Will a Ledger Nano S Plus work with an iPhone?
No. The store page states that the device doesn’t work with iOS devices, and the setup article repeats that connecting one to an iPhone isn’t possible. An Android phone will do it over USB with an OTG cable.
Why does my Nano S Plus box say CC EAL5+ instead of CC EAL6+?
Because somebody mistyped it. Ledger’s position is that every Nano S Plus Secure Element holds CC EAL6+ certification, and that one batch of packaging went out carrying CC EAL5+ thanks to a typo.
The Short Version
Six unglamorous moves make up a Ledger Nano S Plus setup. Check that the Recovery Sheets are blank, put Ledger Wallet on your computer, power the device up, choose a PIN that will stick in your head, get all 24 words onto paper, and hand them back when the quiz comes. What’s left is the genuine check, whichever apps you need, and a small test transfer before the real money moves.
Torn between models? The Ledger Nano X review looks at the Bluetooth sibling, while our list of the best Bitcoin hardware wallet options covers anyone holding nothing but BTC.
This article is for general information only and is not financial, legal, or investment advice. Prices and features change; check the vendor’s official page before buying.