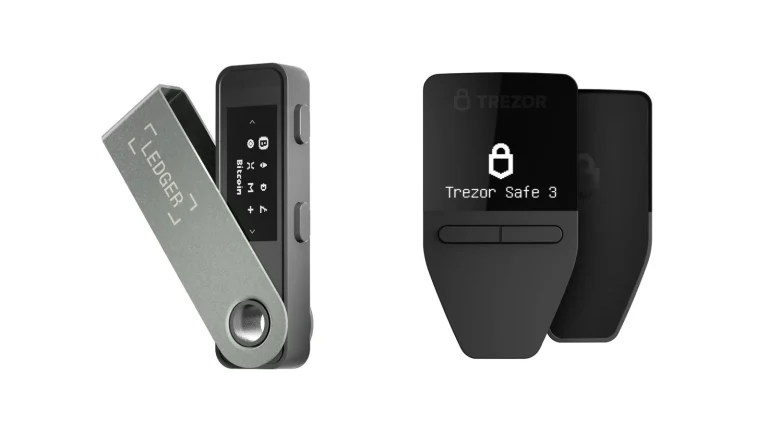

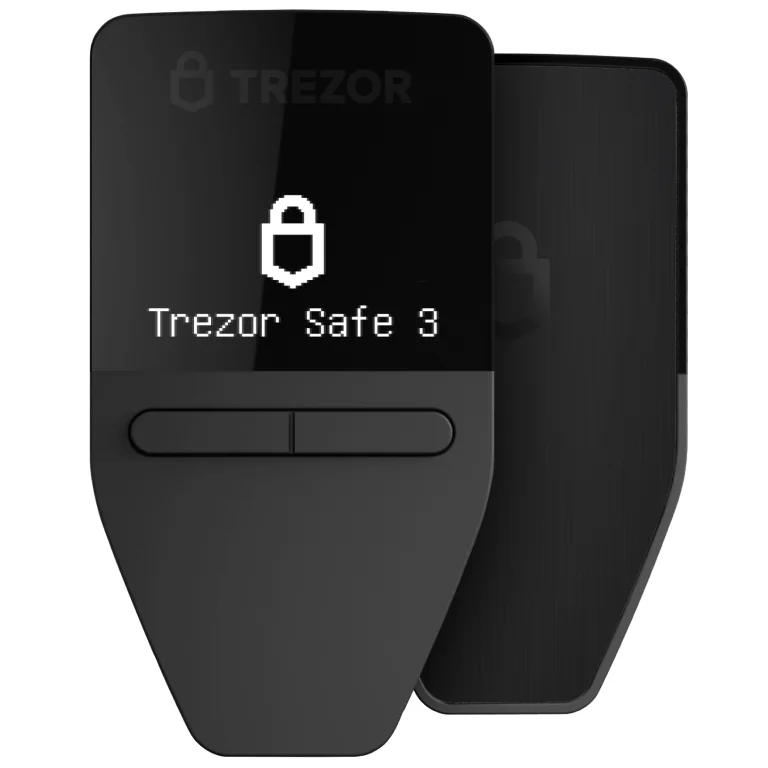
Nothing in Trezor’s range costs less than the Safe 3. It sits at $59 at the time of writing (September 2026), and Trezor points to it as the device that takes over from the discontinued Model One. That combination puts a lot of first wallets in a lot of first hands.
Trezor figures the whole job takes about 15 minutes. Work through this guide and you’ll come out the other side with firmware flashed, a wallet made, a backup written on paper, a PIN chosen, and proof that the backup you wrote is the one the device actually holds. Have the wallet ready along with its USB-C cable, both untouched backup cards, something to write with, and a computer that can run Trezor Suite.
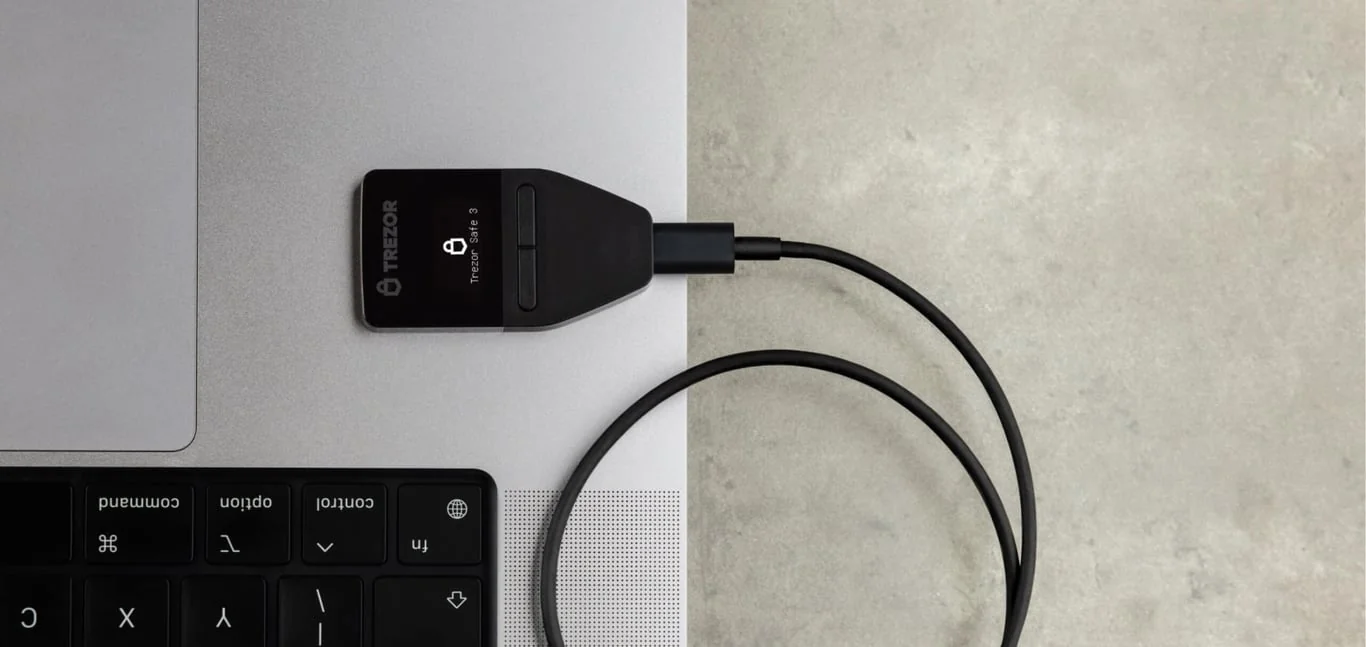
Table of contents
Round Up These Six Things First
Collect the lot before you plug anything in. Breaking off mid-backup to go hunting for a pen is exactly how a word ends up in the wrong row.
- A Safe 3 that came straight from the official Trezor shop, or from a reseller Trezor has authorized.
- The USB-C to USB-C cable packed alongside it. There’s no battery in this wallet, so it’s dark until it’s plugged in.
- The two empty wallet backup cards, and a pen whose ink won’t rub off.
- A machine on Linux, on macOS 12 “Monterey” or above, or on Windows 10 or above.
- Prefer doing this on a phone? Then you need Android with a USB-C port, since Trezor devices can’t connect over USB-C on iOS, which rules the iPhone out of setup entirely.
- A quarter of an hour where nobody is reading over your shoulder.
Read this bit twice before you move a single coin. Transfers only travel one direction, which means a wrong network or a wrong address leaves the funds gone, with nobody anywhere able to undo it. Trezor puts it just as flatly in its own docs, and five minutes on our explainer covering what a wallet address is will save you from the version of this story that ends badly.
How to Set Up the Trezor Safe 3, Step by Step
What follows is Trezor’s own desktop sequence. Where Android says something different, we’ve flagged it in the step.
Step 1. Inspect the Box and the Seal
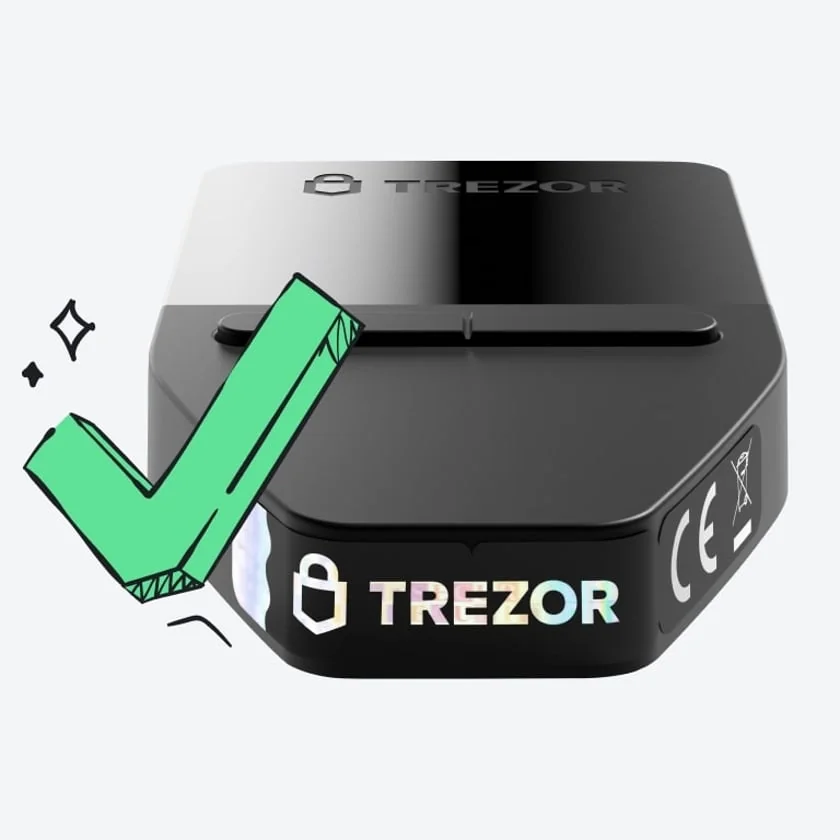
Open a full package and you should find the wallet, a USB-C to USB-C cable, a pair of 20-word wallet backup cards, the start-up guide, a safety leaflet and some stickers. A holographic seal covers the USB-C port, and a black sticker wraps the body; both come off before you begin. Lifting that seal smears a “VOID” mark across the casing, and Trezor says to expect it.
Here’s the error we’d flag hardest: shrugging at a backup card that already has writing on it. Those cards have to reach you empty.
Find words printed or scrawled on either one and you should put the device down and message Trezor support, because loading funds onto a wallet a stranger already has the keys to is not a mistake you recover from.
You may also run into either of two box generations. Cards from 2023 carry 12 slots and the older phrase “recovery seed” on them, while 2024 cards carry 20 slots and say “wallet backup” instead. What’s inside the plastic doesn’t change.
Step 2. Get Trezor Suite on Your Computer
Head for trezor.io/start, hit “Download for desktop”, run the installer and open what you’ve installed. Think of Suite as the window onto the wallet: it speaks to the hardware and shows you what you hold. Two places, and no others, count as genuine downloads, namely Trezor’s own website and the GitHub releases page for the project.
Counterfeit versions of Suite really do turn up in search listings, so key the address in by hand instead of trusting a result.
Running it in a browser instead? You’ll need something Chromium-based, so Chrome, Edge, Brave and Opera are all fine. Safari and Firefox are out, because WebUSB isn’t there.
Step 3. Plug It In and Let Suite Check the Device
The first screen you’ll meet says “Connect & unlock your Trezor”. Attach the wallet to your computer using that USB-C cable, and the app switches over to “Device security check”. From there, “Set up my Trezor” takes you forward.
Android phrases it a little differently. Its screen reads “Your Trezor is ready for setup”, after which you tap “Let’s get started” and tick off three claims: a trusted place of purchase, an unbroken holographic seal, and a box sealed at the factory. “Yes” carries you on.
Step 4. Flash the Firmware
Your wallet arrives blank on purpose, with not a byte of firmware aboard, because software that was never preloaded is software nobody could have meddled with in a warehouse. Firmware, in case the word is new, is the code running on the wallet itself. Suite offers you “Standard” or “Bitcoin-only”, and after “Install firmware” the device reboots by itself.
Android labels the same button “Install now”, with a “Continue” waiting at the end. Go with Standard unless Bitcoin really is the only thing you own. Changing firmware type afterwards erases the wallet, so we’d treat it as a one-time decision rather than a toggle.
Step 5. Let the Secure Element Prove Itself
Firmware done, Suite moves straight into a Secure Element authenticity check. Press “Start”, then do as the wallet’s screen asks. Tamper-resistant chips like this one are the same family of silicon that guards bank cards and passports.
Inside this model sits an OPTIGA Trust M (V3), rated at Common Criteria EAL6+, carrying a Trezor certificate that vouches for the hardware being real and untouched. A fake would trip over this hurdle long before you’d inked a single backup word, which strikes us as the right place for it to fail.
Next comes a brief walkthrough named “Know your Trezor”. Take it or press “Skip”, then “Continue”.
Step 6. Make the Wallet and Write the Backup by Hand
Starting clean means “Create a new wallet”; bringing an old wallet across means “Recover”. A backup type comes next. Anything built in 2023 lands on 12 words by default, while 2024 and later hardware lands on 20.
Given the option, we’d pick 20 every time. Only a 20-word backup can grow into a Multi-share Backup, the arrangement that cuts your backup into several pieces you can store in separate places, whereas 12 words locks you into a single share forever. The “Wallet backup type” dropdown handles the switch on desktop, and “More options” does the same job on Android.
Press “Create wallet”, accept the “Terms of Use” with the right-hand button on the wallet, and follow that with “Continue to wallet backup” and “Create wallet backup”. Words arrive one by one on a screen measuring 0.96 inches and 128 x 64 pixels. Move with the up and down arrows, reverse to re-read your spelling, press “Continue”, and then identify whichever words the wallet quizzes you on.
Those words belong on the wallet’s own screen and nowhere else. Counterfeit sites and apps are built for precisely this trick. Whoever has the backup has the balance.
Step 7. Choose a PIN
Suite’s “Set PIN” button starts it off. Typing happens on the hardware, never on your keyboard. Left and right buttons walk you to a digit, and squeezing both at once picks it.
Because the cursor lands somewhere new on every digit, watching your thumbs tells an onlooker nothing. Anywhere between 4 and 50 digits is allowed, and Trezor asks you to steer clear of runs like “12345” or anything a stranger could guess from your birthday.
Hardware, not software, is what holds the line: the secure element hands over the secret that unlocks your keys only after the right PIN goes in. Fail 16 times and it destroys that secret, wiping the wallet back to nothing. We like that ceiling, since it turns a stolen wallet into a paperweight, but it does leave your backup card as the single route home.
Step 8. Switch On Your Coins, Then Test the Backup
Tap “Get started” on the Suite dashboard, turn on whichever assets you hold, then choose “Go to Dashboard”. Paired with Suite, this wallet looks after Bitcoin, Ethereum, Ethereum Classic, Litecoin, XRP, Bitcoin Cash, Dogecoin, Zcash, Cardano, plus thousands of tokens. Trezor’s launch messaging put the figure at over 7,000 coins.
Whatever you skip, don’t skip what comes next. Inside “Device Settings” you’ll find “Wallet backup”, where “Check backup” waits; tick “I understand”, press “Start”, and key every word back in on the wallet. Do that and you’ve shown that the card in your hand really does describe the wallet sitting in front of you.
Messy handwriting comes to light now, which beats discovering it half a year on when the hardware is dead and there’s no second attempt. Trezor keeps a published list of backup words people spell wrong, aimed squarely at this moment.
The Settings We’d Change Right Away
Four tabs hold everything Suite lets you adjust: “Application”, “Device”, “Networks” and “Connected apps”. Below are the ones we’d open on the first day.
| Setting | Tab | Why bother |
|---|---|---|
| Address display | Application | Pick “Spaced” and every address arrives in groups of 4 characters. Comparing it against the wallet screen gets far less painful. |
| Tor | Application | Your balance lookups travel through the Tor network instead of arriving with your IP address attached. |
| Auto eject wallets | Application | Unplug the hardware and Suite drops every wallet from memory. We’d switch this on for any computer you share. |
| Auto-lock time | Device | Decides how patient the wallet is before it locks up again. |
| Passphrase | Device | Flip on “Use Passphrase wallets” and a second, hidden wallet appears above the same backup. |
| Set up wipe code | Device | An alternative PIN that clears the hardware the instant somebody types it. |
| Check device | Device | Runs the setup authenticity test again, any time you want the reassurance. |
| Networks | Networks | Tick only the chains you actually use, then press “Load networks”. A hidden chain still holds its coins. |
Passphrases deserve their own health warning. Forget one and there’s no reset: support can’t dig it out for you, and a single stray character drops you quietly into a different wallet with nothing in it. Standard ASCII applies, 50 characters is the ceiling, capitals matter, and even a space is a character.
Should you go ahead with one, reach for “Enter passphrase on Trezor” and tap it out on the hardware rather than your keyboard. A compromised computer never sees it that way.
How Long Will This Take You?
Roughly a quarter of an hour, per Trezor, and that estimate survives contact with reality provided your backup runs to 12 words and your handwriting is quick. Only the firmware install involves any actual waiting, and it’s over in a minute or two. Copying out 20 words, then confirming them with two buttons, is where the clock really goes.
Budget a further 10 minutes for “Check backup”, seeing as you’ll thumb in every word a second time. Networks switch on instantly. After that, your opening deposit is in the hands of the blockchain rather than the hardware, so the wait belongs to the chain you chose and the exchange you left.
When Setup Goes Wrong, and What Fixes It
- Suite can’t find the hardware, and nine times in ten the cable is why. Plenty of USB-C leads move power but no data, and a glowing screen only proves the power half, so reach for the lead that shipped in the box.
- Something on the machine is in the way, whether that’s a VPN, a firewall, antivirus or a browser extension. Disable them one by one, and add Suite to the whitelist.
- Windows refuses to acknowledge the wallet at all, which normally points at absent USB drivers. There’s a Trezor support article that takes you through fitting generic ones using Zadig.
- One stubborn word breaks the backup test. Hold it up against Trezor’s roll of frequently misspelled backup words before you panic.
- Your parcel turned up with the holographic seal ripped or absent. Abandon setup at that point and get Trezor support involved.
- An iPhone gives you nothing at all. USB-C links to Trezor hardware simply aren’t supported under iOS, which makes a computer compulsory for setup.
- An older Trezor vanished once Trezor Bridge was deprecated. nodeBridge has taken Bridge’s place, and firmware old enough needs a stepping-stone version of Suite before it will update.
Habits That Keep the Money Safe
- Start small. Trezor’s advice is to push through the exchange’s minimum deposit, watch it land, and only then send the real amount.
- Put every receiving address in front of the hardware before you trust it. Hit “Verify” inside Suite, then read the wallet’s screen against whatever you pasted at the exchange.
- Your transaction history is the one place an address should never come from. Lookalike entries get seeded there deliberately, in a scam people call address poisoning.
- Be careful with EVM chains, meaning the ones that borrow Ethereum’s address format. Suite shows the same string for your Ethereum account and your Avalanche C-Chain account, so an address on its own reveals nothing about which network you’re on.
- Make “Check backup” a ritual before any firmware update. Updates can fail and clear the hardware, and the backup is the thing that restores the wallet.
- Paper or metal, offline, always. No photographs, and nothing typed into a computer.
- Don’t forget destination tags where a chain expects one, XRP and XLM being the usual suspects. Omit it and your deposit may sit uncredited at the exchange.
Trezor’s name for the wallet’s screen is the Trusted Display, and we think it’s a fair one. Whatever malware does to the picture on your laptop, it can’t reach the picture on the wallet. Our Ledger vs Trezor comparison goes deeper into how the two brands handle confirming things on the device.
FAQ
What does a Trezor Safe 3 cost right now?
$59 at the time of writing (September 2026), buying straight from Trezor, and the Bitcoin-only version carries the same tag. Back at its October 2023 launch it was $79.
Will an iPhone get me through setup?
No. Trezor hardware can’t talk to iOS over USB-C, which means the initial setup has to happen on a computer with Trezor Suite. Your iPhone is still useful afterwards, though, for watching balances, buying and receiving.
My PIN is gone. Now what?
After 16 wrong tries the secure element destroys the secret that unlocks your keys, leaving the hardware reset to nothing. From there you rebuild the wallet on a fresh or wiped device from your wallet backup, which is the only route back.
12 words or 20 words for the backup?
20 words, wherever the wallet lets you. A 20-word backup can be promoted to a Multi-share Backup later on, whereas 12 words are stuck as a single share for good. Neither is insecure.
Can anyone actually read the Trezor Safe 3’s code?
Yes. Anyone can read the firmware in the public trezor/trezor-firmware repository on GitHub, and Suite’s code sits in trezor/trezor-suite. Part of why Trezor settled on the OPTIGA Trust M (V3) secure element was that working with it involves no non-disclosure agreement.
Is there a battery inside?
None. Power arrives over USB, so the wallet wakes only while it’s attached to a computer or an Android phone.
Is a passphrase something I need?
Not at first, and we’d steer most newcomers away from one. What it gives you is an extra hidden wallet, with no reset button and no chance of Trezor Support retrieving it once it’s out of your head.
Wrapping Up
Boil the whole job down and you get eight screens and one unhurried half hour. Put Suite on the computer, hand it the firmware, clear the secure element check, build the wallet, copy the backup out longhand, key a PIN into the hardware, switch your coins on, and finally test the backup you’ve just written. Two of those have no undo button, and they’re the two we’d slow down for: the card and the PIN.
Want a touchscreen and more room to read? Our Trezor Safe 5 review looks at what the upgrade buys you. Anyone arriving here with aging hardware should know the Trezor Model One has been retired with the Safe 3 named as its successor, though Trezor has promised maintenance on the Model One through at least 2031 and critical security patches through at least 2036.
This article is for general information only and is not financial, legal, or investment advice. Prices and features change; check the vendor’s official page before buying.