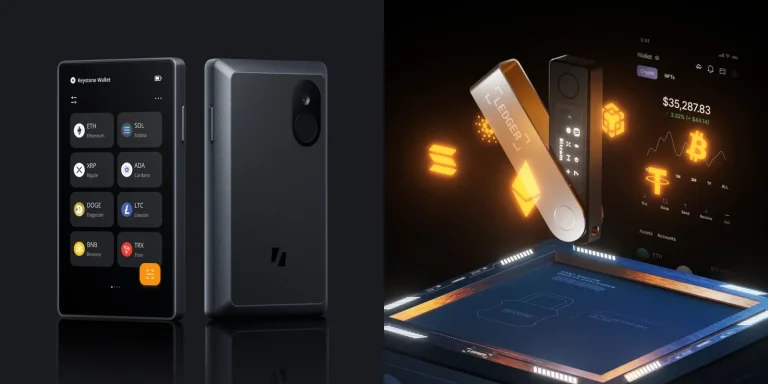

Nothing gets you into an Ethereum app faster than MetaMask, and that speed comes with a catch: it’s a hot wallet. Your keys live on the computer, encrypted, but reachable by anything that manages to get onto that computer. Bolt a Trezor onto it and the arrangement flips, since the signing job moves onto the device and the extension is demoted to a window onto accounts it has no power to empty.
We’re doing this through the desktop browser extension, because that’s the one path both companies actually support. Give yourself 20 minutes the first time. Nearly all of it goes on firmware and app updates, oddly enough, not on the pairing.
Have ready: a Trezor whose PIN you’ve already chosen and whose backup words are on paper, Trezor Suite sitting on the machine, a Chromium browser, and whichever USB cable came in the packaging.
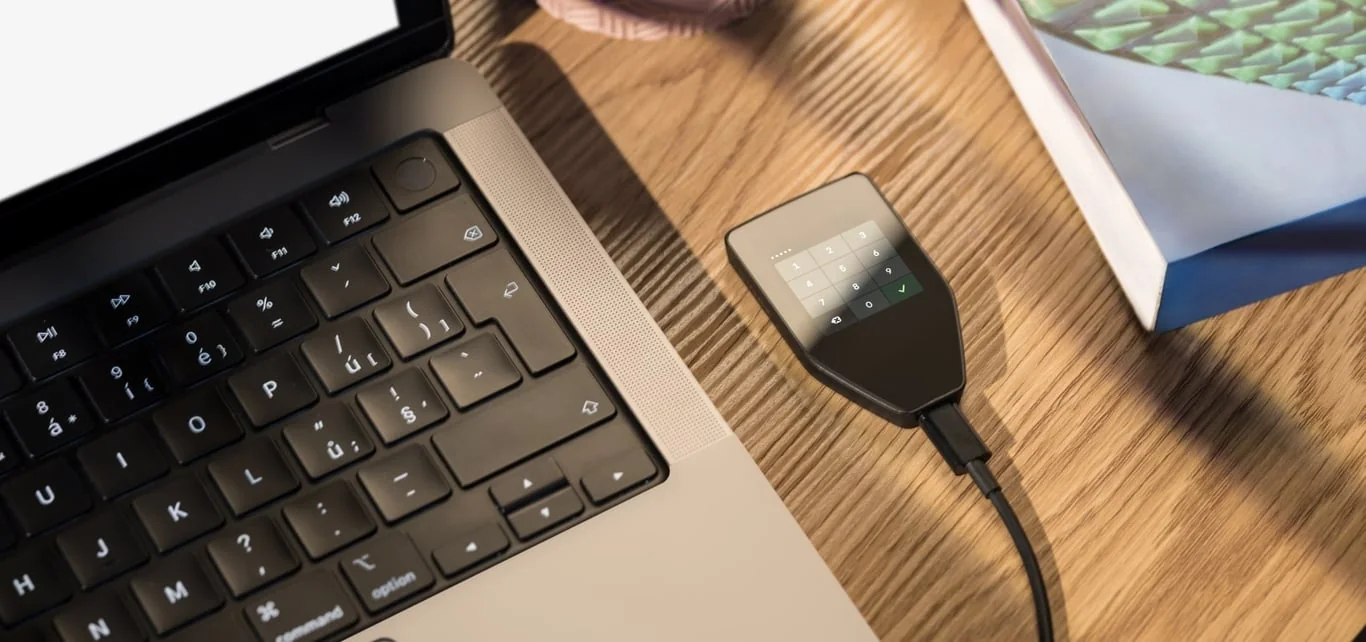
Table of contents
What to Have Ready Before You Plug In
Gather the lot before a cable touches a port.
- A Trezor you’ve finished initializing, meaning it has a PIN and its backup words are copied onto paper. Those words are what rebuilds your accounts if the device ever goes missing.
- The newest Trezor Suite release, and the newest firmware sitting on the device. Trezor’s troubleshooting page for MetaMask leads with exactly that pair.
- Something Chromium-based. According to Trezor you want Chrome, Edge, Brave or Opera, because those carry WebUSB, the browser feature that reaches down to the hardware, while Firefox and Safari don’t.
- MetaMask itself, which the company ships as an extension for Chrome, Firefox, Brave, Edge and Opera.
- A cable that moves data. Plenty of USB cables only carry power, and Trezor puts that at the top of its list when a device refuses to show up.
- Zero trace of the old standalone Trezor Bridge, which Trezor has now retired.
Read this part twice. Money aimed at the wrong address, or shoved down the wrong network, is simply gone, and nobody on earth can claw it back for you, not Trezor, not MetaMask, not us. What protects you is the little screen on the device, the one Trezor calls the Trusted Display.
Haven’t picked a device yet? Our roundup of the best hardware wallets for MetaMask runs through what else is out there.

How to Connect Trezor to MetaMask, Step by Step
Step 1. Get the firmware current and Trezor Suite installed
Launch Trezor Suite, attach the device, and give it a moment to look the firmware over. That same instruction opens Trezor’s own MetaMask troubleshooting page: newest firmware, newest extension build, before anything else.
There’s a second reason to bother with Suite. Since Trezor Connect hit version 9.6.0, requests get answered inside the Suite app rather than in a browser popup, and a Trezor Safe 7 can’t use that old popup whatsoever.
Step 2. Throw out the old standalone Bridge
Standalone Bridge is dead, and Trezor’s wording is that keeping it around “may interfere with using your Trezor device in future releases”. Hunt through your running processes for one named trezord if you’re not sure whether it’s still there.
Windows keeps it in Program Files, in a folder called TREZOR Bridge. Mac owners will find it under Applications, then Utilities. On Linux, apt takes it away.
Step 3. Put MetaMask in a browser that can reach the device
Head over to metamask.io/download, choose your platform, and you’ll land on the extension’s listing inside your browser’s own store. Chrome or Firefox is what Trezor’s MetaMask article suggests at this point.
Our money is on Chromium anyway, since Trezor’s connection page states outright that Firefox and Safari have no WebUSB. Once it’s installed, pin the fox to the toolbar. Fishing through the extensions menu every time gets old fast.
Step 4. Make a MetaMask wallet you’ll leave empty
Anyone opening MetaMask for the first time gets pushed through wallet creation and handed what the company names a “secret recovery phrase”. Trezor’s line on it is refreshingly direct: that backup stands apart, it isn’t part of your Trezor, and it “is not necessary if you only intend to use MetaMask with your Trezor”.
Picture this wallet as an empty box. Anything holding value is going to be derived from the Trezor, and the backup for that already sits in a drawer in your handwriting.
Whatever you do, don’t key your Trezor backup words into MetaMask. They belong on the device, full stop.
Step 5. Wake the Trezor and punch in the PIN
Attach it over USB, then enter the PIN. Trezor allows up to 50 digits there, and that’s true of the Safe 3, the Safe 5 and the Safe 7 alike.
Before you go on, shut every other tab and program that speaks to the device. In Trezor’s words, “use only one application/website/browser tab with Trezor at a time”, because those processes end up fighting each other.
Step 6. Point MetaMask at the hardware wallet
Per MetaMask, you unlock the extension, open the account dropdown menu, hit “Add account or hardware wallet”, and follow that with “Add hardware wallet”. Trezor gets picked from the selection screen, then you press “Continue”.
An older route shows up in Trezor’s version: tap the account icon, pick “Hardware Wallet”, press “Connect Trezor”. Each company documents its own product, which is why the wording on your screen may not quite match either one.
Step 7. Say yes to Trezor Connect
Up comes a Trezor Connect prompt, asking for permissions and for the right to export your public key. Allow it and export to keep going. Trezor Connect is the plumbing that lets MetaMask, Rabby and Backpack reach the hardware in the first place.
Running Suite already, on Connect 9.6.0 or later? Then the approval lands inside Suite rather than in your browser, and the prompt lists the app’s name, its origin URL, its icon and the process behind the request, which Trezor treats as a defense against something malicious pretending to be an app you trust.
Step 8. Pick the accounts you want and unlock them
Tick the account you’re after, then press “Unlock”. Those addresses were generated by the Trezor rather than by MetaMask, and MetaMask spells it out: the hardware wallet only protects you if you’re using a Trezor address instead of your MetaMask one.
Sequence counts for something here. Choose the third address in the list and, Trezor warns, it won’t turn up in Trezor Suite until the second one has been used.
This pipe carries EVM accounts and nothing else, meaning Ethereum plus the chains built to its format, Polygon and BNB Smart Chain among them. MetaMask says as much itself. Your Bitcoin stays behind in Trezor Suite.
Step 9. Push a tiny amount through first
Type in the transaction details, press “Next”, then “Confirm”. Everything then reappears on the Trezor, where you read it over and approve.
Keep that first amount small. Malware can rewrite anything on your monitor but not the Trusted Display, so check the destination address and the figure there before your finger goes anywhere near approve.
Why the Trezor Safe 7 Needs Trezor Suite
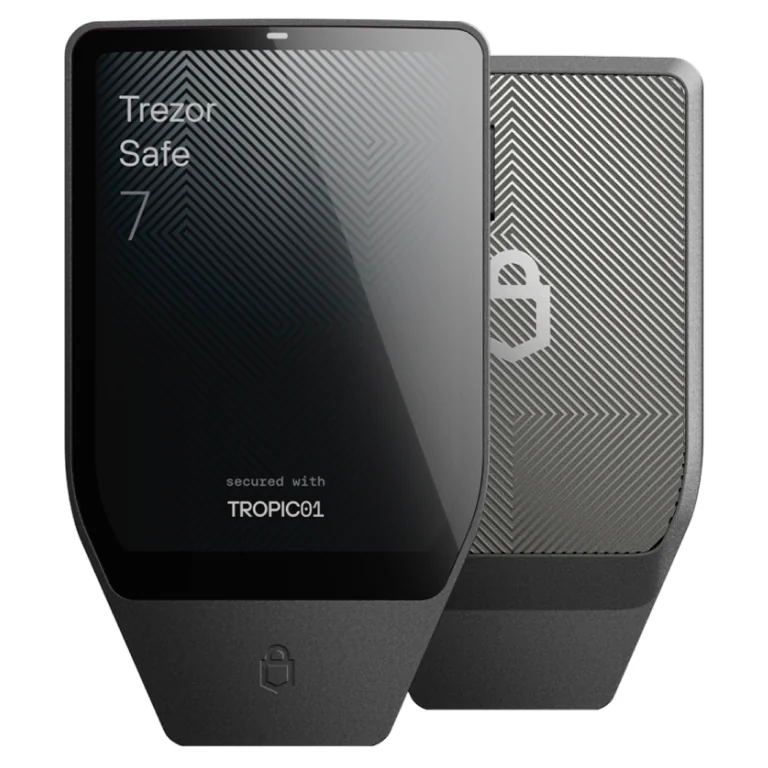
Trezor put the Safe 7 out on October 21, 2025, and it sells for $249 at the time of writing (September 2026). It’s also the model that breaks the habits everyone had built up.
Here’s how Trezor phrases it: “For enhanced security, Trezor Safe 7 devices are not supported by the previous Connect ‘popup’ that you may be familiar with.” Everything older carries on with that popup quite happily. Getting a Safe 7 talking to any third-party wallet app, though, means installing Trezor Suite.
Version 9.6.0 of Trezor Connect is where Safe 7 support landed, so every third-party wallet has to reach 9.6.0 or later before it can handle one. Look at Trezor’s compatibility table and MetaMask carries a tick under desktop and nothing under mobile.
Hardware-wise the Safe 7 has toys the others lack, among them Bluetooth 5.0+, a LiFePO4 battery, and a trio of chips called TROPIC01, OPTIGA Trust M and STM32U5. Its 2.5-inch touchscreen pushes 520 x 380 pixels, next to 240 x 240 on the Safe 5 and a plain 128 x 64 monochrome panel on the Safe 3.
One more thing worth knowing from the Safe 7 FAQ: the device also reaches MetaMask and Uniswap through WalletConnect, which is a different door into the same room.
The Six Settings We’d Check First
Almost every complaint we’ve read about this pairing traces back to one of six toggles.
| Setting | Where you’ll find it | Our advice |
|---|---|---|
| Browser | Chrome, Edge, Brave or Opera | Go Chromium, because Trezor says WebUSB is absent from Firefox and Safari |
| Standalone Trezor Bridge | Program Files on Windows, or Applications then Utilities on a Mac | Get rid of it; Trezor retired it and warns it can get in the way |
| Trezor Connect flow | Trezor Suite, under Settings then Experimental features on version 25.5 | Let it run. Suite 25.6 turns it on for you anyway |
| Passphrase | Trezor Suite, under Settings, then Device, then Passphrase | It ships switched off, and we’d keep it that way until the risks are clear to you |
| Browser pop-ups | Whichever site settings panel your browser uses | Allow them, or the MetaMask window shuts itself, per Trezor |
| Other Trezor tabs | Trezor Suite, plus any wallet site you’ve left open | Shut them all. Trezor wants a single application talking to the device |
That passphrase row needs a footnote. Think of a passphrase as an optional extra word that unlocks a whole separate wallet from the same backup; it stretches to 50 ASCII characters and it cares about capital letters. Trezor is also clear that you can’t change one, delete one, or get one back.
So How Long Does This Actually Take?
Two minutes, give or take, for the pairing itself. What sits in front of it is the slow bit, and that’s mostly firmware and app updates grinding away.
Not one part of this reaches a blockchain, which means no confirmations to sit through and no fee to pay. Spending is where the costs begin, and gas is the name for the network fee that gets your transaction written into a block.
Do it again on a second machine and you’ll be finished in two minutes flat, since the updating is behind you.
When Trezor and MetaMask Won’t Talk
- You get nothing at all. Trezor’s opening move is newest firmware plus newest MetaMask extension, then a run at both Chrome and Firefox in Incognito or Privacy mode.
- Your computer can’t see the device. Swap the cable for one that carries data and not merely power, a cause Trezor flags often.
- Your address is nowhere in the account list. According to Trezor you’ve opened some other wallet, either from a different backup or with a different passphrase typed in.
- That MetaMask pop-up keeps vanishing. Bring both pieces up to date, wipe the browser cache, and check that pop-ups aren’t blocked.
- Spending is refused. Private keys come out of your backup and passphrase pairing, so the wrong pairing hands you accounts you can only watch.
- Something on the machine is blocking it. VPNs, firewalls and extensions all qualify, and Trezor singles out AdBlock and Privacy Badger as worth turning off to test.
- Also on MetaMask’s own checklist: blind signing switched on if what you’re doing calls for it, a current browser, and a USB connection instead of Bluetooth.
- Your Safe 7 never shows up through the old popup. Install Trezor Suite, because that’s the only route Trezor offers for that model.
Habits That Keep Your Trezor Safe
- Fire a trivial amount at the fresh Trezor account before anything you’d miss follows it over.
- Trust the address printed on the Trezor, never the one in the browser window. Clipboard malware swaps addresses after you copy them, as Trezor points out.
- Keep an eye out for address poisoning. Scammers mint a vanity address that mimics one of yours, betting you’ll copy theirs out of your own history later on.
- Don’t lift addresses out of transaction history at all. Suspicious ones get blurred and flagged as unverified inside Trezor Suite, but MetaMask gives you no such warning.
- Those backup words go into MetaMask never, into a website never, into any app never.
- Give third-party access a review now and then. Trezor Connect lets you handle it, or pull it entirely, from Trezor Suite.
- Fuzzy on how addresses and networks fit together? Our piece on what a wallet address is is worth reading before you send anything.
Trezor and MetaMask FAQ
So are my keys sitting in the browser now?
No. The way Trezor puts it, your keys stay only on the Trezor itself, guarded by the hardware, and you’ve stopped depending on MetaMask to look after them. Drawing the accounts and assembling the transaction is MetaMask’s job; the signature is produced on the device.
Which Trezor models can I use with MetaMask?
Every current one. A Trezor Safe 3 runs $59, a Trezor Safe 5 runs $129, and a Trezor Safe 7 runs $249, prices taken at the time of writing (September 2026). One caveat applies to the Safe 7 alone: the old Trezor Connect popup won’t handle it, so Trezor Suite has to be installed.
Any chance of using a Trezor with MetaMask on a phone?
None, sadly. Keystone, Ledger and NGRAVE ZERO are the three hardware wallets MetaMask names for MetaMask Mobile, and a tick sits under desktop only when Trezor lists MetaMask in its own compatibility table.
Am I stuck keeping that MetaMask secret recovery phrase?
Only when you intend to keep using the default MetaMask account it created. That backup belongs to MetaMask and not to your Trezor, and Trezor says it isn’t necessary if the Trezor is all you plan to use MetaMask with. Anything derived from the device comes back through the Trezor backup instead.
Chrome or Firefox for connecting Trezor to MetaMask?
Chrome, in practice. Trezor’s MetaMask article does mention both browsers, yet the company’s Trezor Suite connection page says Firefox and Safari can’t work at all because WebUSB isn’t there. Pick something Chromium-based and the question goes away: Chrome, Edge, Brave or Opera.
Is the Trezor Model One or Model T still worth buying?
Not from Trezor directly. January 8, 2026 was the day both disappeared from the Trezor e-shop, and official resellers will carry them a while longer. Trezor’s commitment runs to critical security updates on both until at least 2036, with basic maintenance until at least 2031.
Wrapping Up
Bring the firmware up to date inside Trezor Suite, delete the old standalone Bridge, and get MetaMask running in a Chromium browser. After that it’s a throwaway MetaMask wallet, the Trezor plugged in, the hardware wallet added, the Trezor Connect request approved, and whichever account you want unlocked.
None of it moves your keys off the device. Approval still happens on the Trezor screen, and that’s the entire point of the exercise.
Weighing brands against each other instead of models? Have a look at our Ledger vs Trezor comparison. The touchscreen model most people end up connecting this way gets the full treatment in our Trezor Safe 5 review, and anyone still carrying the original device can see where it stands now in our Trezor Model One review.
This article is for general information only and is not financial, legal, or investment advice. Prices and features change; check the vendor’s official page before buying.