
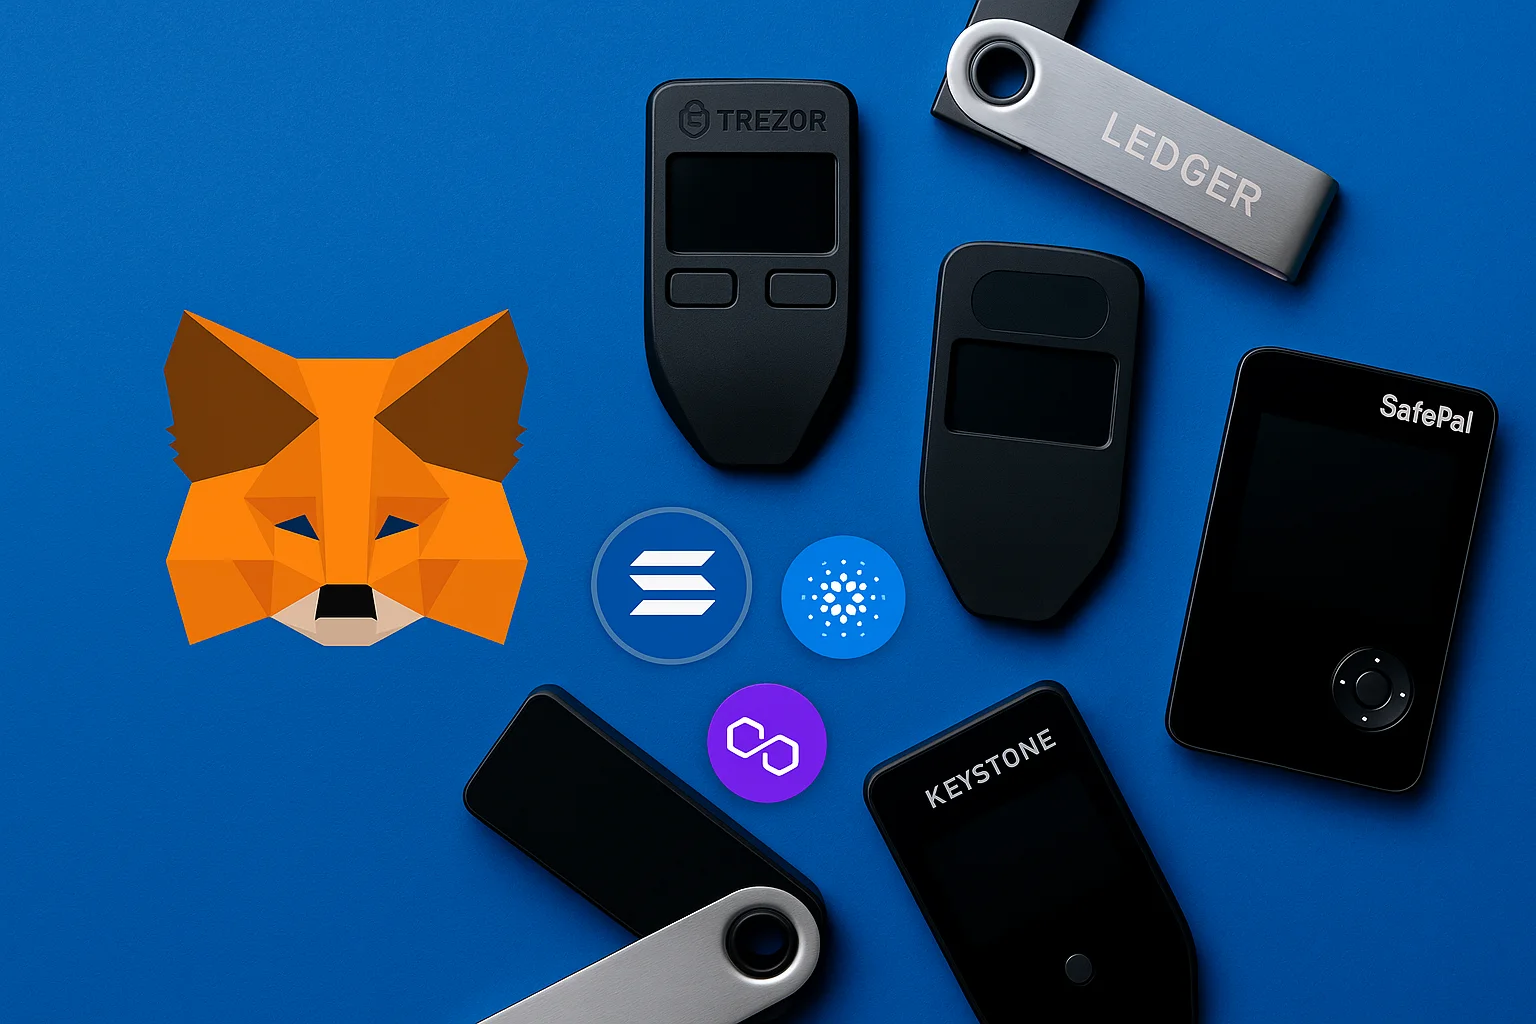
MetaMask with a hardware wallet is the standard setup for serious DeFi: the extension’s reach without its single point of failure. Your keys move to a device malware cannot read, and every swap, mint, and approval must be confirmed by hand on a screen no website controls. This guide ranks the five devices that pair best with MetaMask in 2026 and walks through the exact connection steps, including the signing settings people get wrong.
This guide assumes you have settled on the extension already. If you have not, our MetaMask review judges it on its own.
Table of contents
Quick Summary: Top 5 Hardware Wallets for MetaMask | |
|---|---|
| Ledger Nano X | Best for: Mobile & Bluetooth Use Key Feature: Bluetooth + App Integration Price: $149 |
| Trezor Model T | Best for: Advanced Security Key Feature: Shamir Backup + Touchscreen Price: $129 |
| Ledger Nano S Plus | Best for: Budget Option Key Feature: USB-C, Affordable, Trusted Brand Price: $59 |
| Keystone 3 Pro | Best for: Cold Storage Without USB/BT Key Feature: Air-gapped QR Code Connection Price: $149 |
| SafePal S1 | Best for: Travel-Friendly Crypto Security Key Feature: EAL5+ Secure Element + Mobile Sync Price: $49.99 |
Need a wallet for TRC20 tokens instead? See our guide to the best TRC20 wallets.
1. Ledger Nano X: Best for Mobile and Bluetooth Connectivity
The Nano X ($99) is the smoothest MetaMask pairing in practice: native integration, USB or Bluetooth, and Ledger Live handling firmware updates. One catch: contract-heavy DeFi may ask you to enable “blind signing” in the device’s Ethereum app. Turn it on only when a transaction needs it, read everything the screen shows, and switch it off afterward. Blind signing is exactly where scams live, because you are approving data the device cannot fully display.
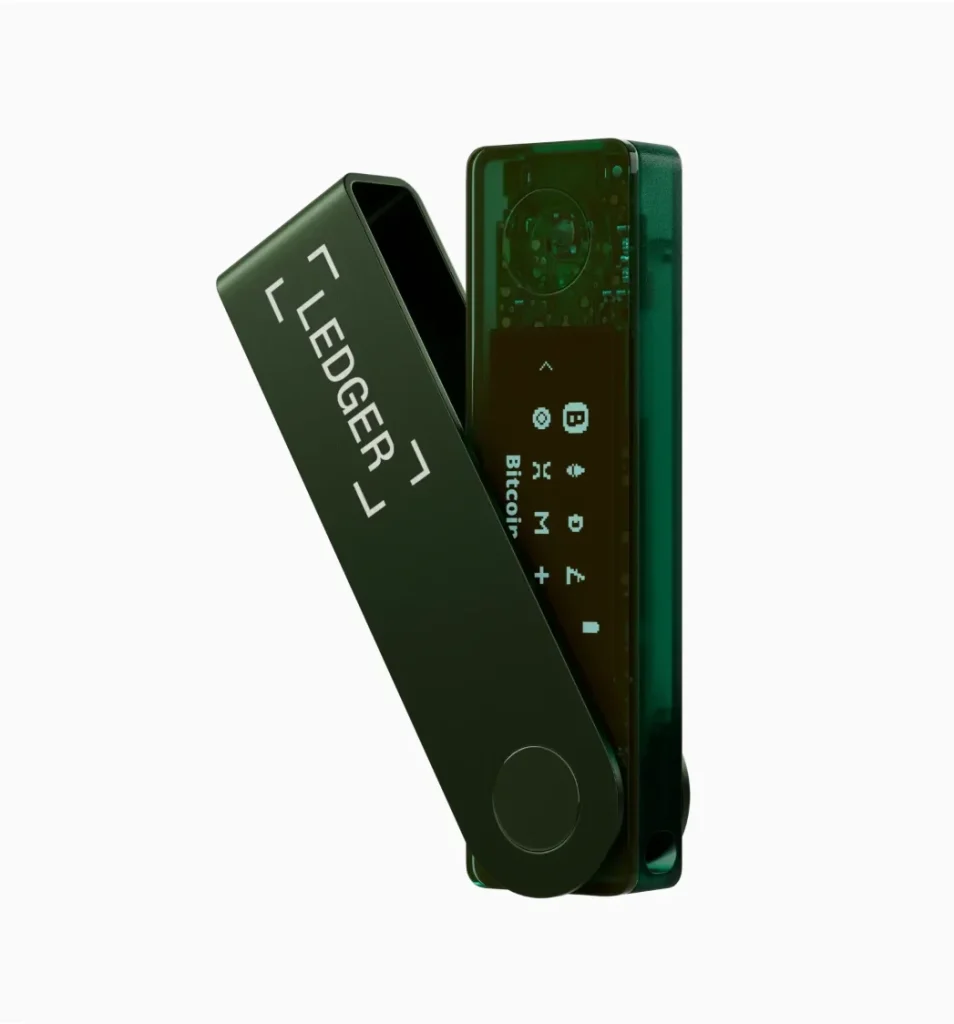
The Ledger Nano X is a top-tier hardware wallet with Bluetooth, which means you can sign MetaMask transactions from your phone without a cable. You get the same offline key protection as any Ledger, plus a larger screen and a battery rated for 8+ hours of use. Your secret recovery phrase stays offline the whole time.
New to the device? Read our guide on how to set up Ledger Nano X, from unboxing to your first safe transaction.
Specifications | |
|---|---|
| Display | 128×64 OLED screen |
| Connectivity | USB-C + Bluetooth 5.0 |
| Battery Life | 8+ hours of continuous use |
| Supported Assets | 5,500+ cryptocurrencies |
| Memory | 2MB storage (100+ apps) |
| Dimensions | 72 x 18.6 x 11.75 mm |
| Weight | 34 grams |
| Secure Element | ST33J2M0 (CC EAL5+) |
| Mobile App | Ledger Live Mobile |
| Recovery Phrase | 24-word BIP39 seed |
2. Trezor Model T: Best for Advanced Security Features
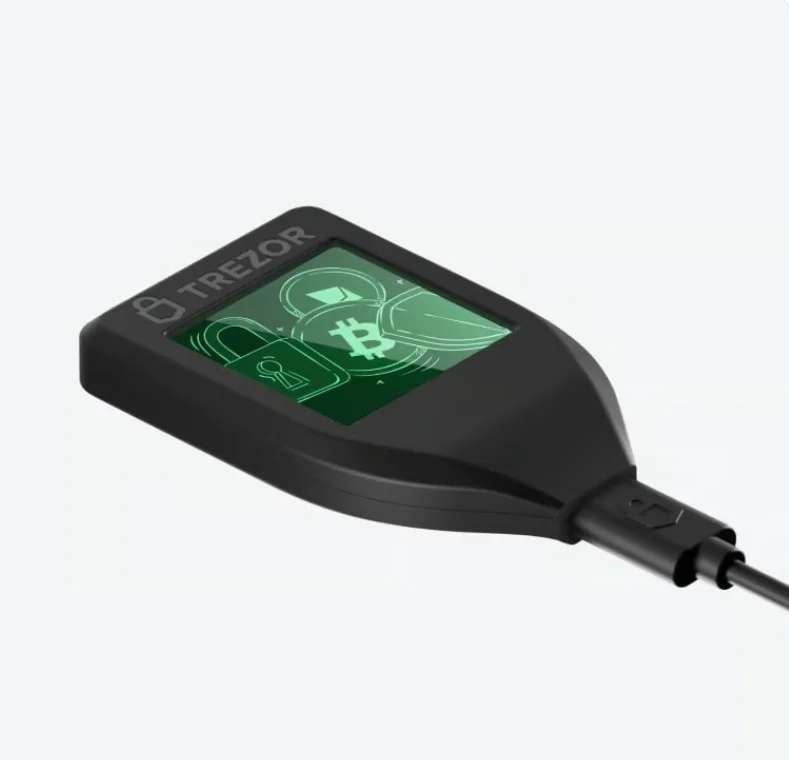
The Model T pairs cleanly through MetaMask’s Trezor option. Its touchscreen shows EIP-712 typed data (the structured messages behind permits and orders) far more readably than a two-button device, so you can see what you are signing instead of trusting the website. Open-source firmware suits the DeFi crowd’s verify-everything instincts. Two cautions: the older chip design has no secure element, so treat the passphrase as mandatory rather than optional; and Trezor’s newer Safe 5 sells at the same price and deserves a look before you buy.
For the full breakdown, read our Trezor Model T review.
Specifications | |
|---|---|
| Display | 1.54″ color LCD touchscreen |
| Connectivity | USB-C |
| Processing | ARM Cortex-M4 168 MHz |
| Supported Assets | 1,800+ cryptocurrencies |
| Memory | MicroSD card slot |
| Dimensions | 64 x 39 x 10 mm |
| Weight | 22 grams |
| Security | Shamir Backup support |
| Interface | Touch-based navigation |
| Recovery Options | 12/18/20/24-word seeds |
3. Ledger Nano S Plus: Best Budget Option for MetaMask Integration
The S Plus ($59) does the same MetaMask job as the Nano X over USB: same class of certified secure chip, same on-device confirmations, for people who do their DeFi at a desk. If your MetaMask lives in one browser on one machine, the Bluetooth premium buys you nothing. This is the value pick of the list.
If you would rather not use MetaMask at all, our Rabby vs MetaMask comparison covers an extension that pairs with the same devices.
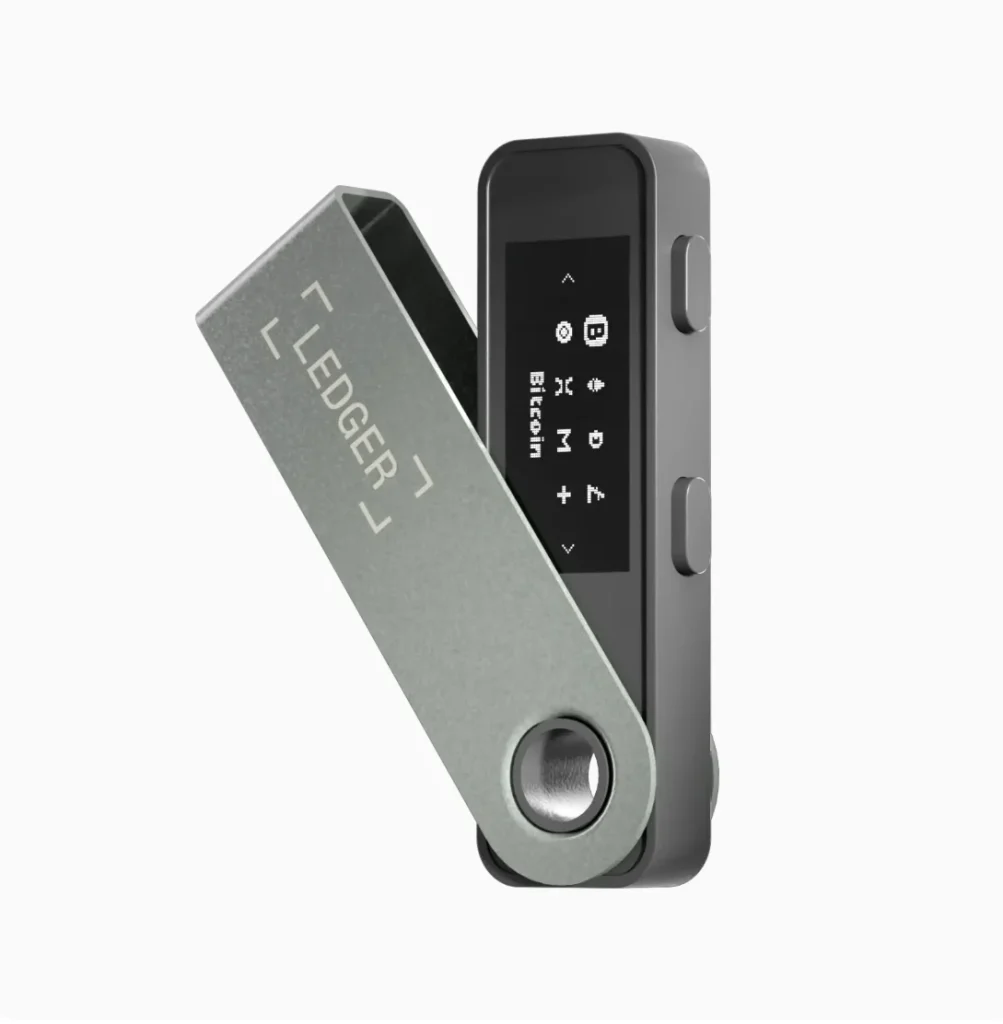
The Ledger Nano S Plus is the easiest first hardware wallet for MetaMask users. You get Ledger’s CC EAL5+ certified chip and the same Ledger Live setup as the pricier models, without paying for a screen and radio you may never use.
Specifications | |
|---|---|
| Display | 128×64 OLED monochrome |
| Connectivity | USB-C |
| Processing | Secure Element ST33K1M5 |
| Supported Assets | 5,500+ cryptocurrencies |
| Memory | 1.5MB storage (70+ apps) |
| Dimensions | 62.39 x 17.40 x 8.24 mm |
| Weight | 21 grams |
| Power | USB-powered (no battery) |
| Security | CC EAL5+ certified chip |
| Setup | Ledger Live desktop/mobile |
4. Keystone 3 Pro: Best for Air-Gapped Cold Storage
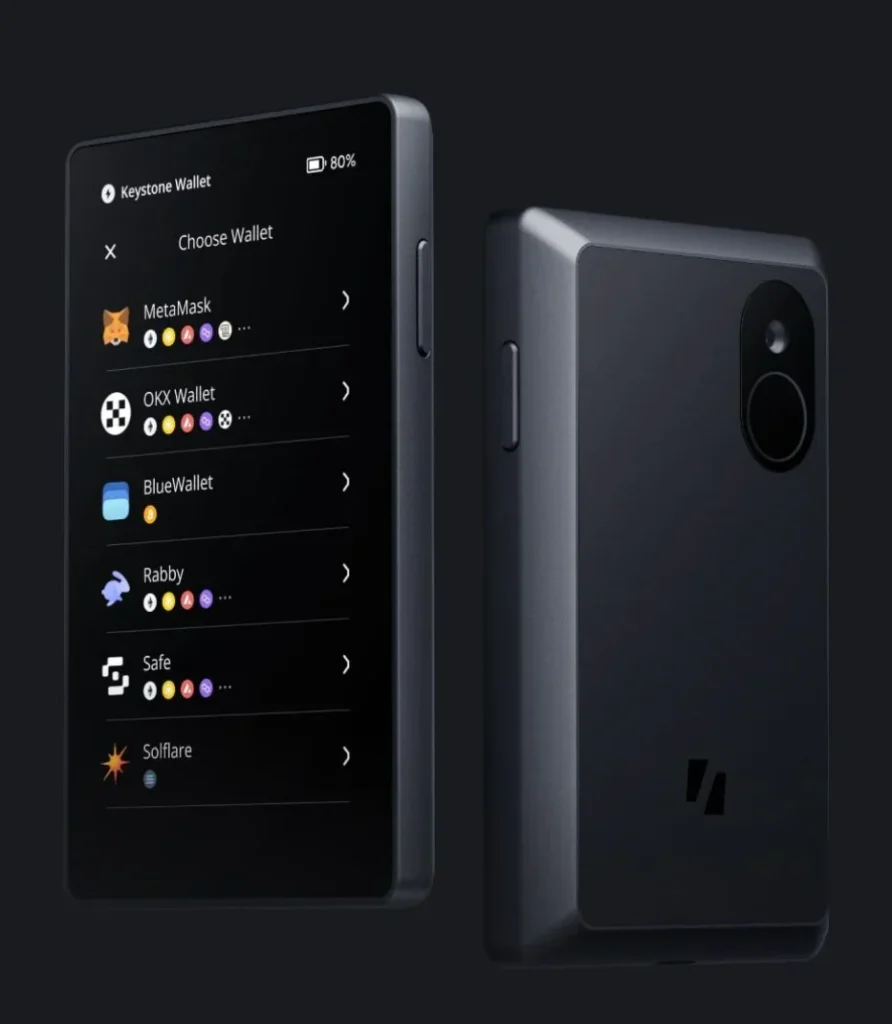
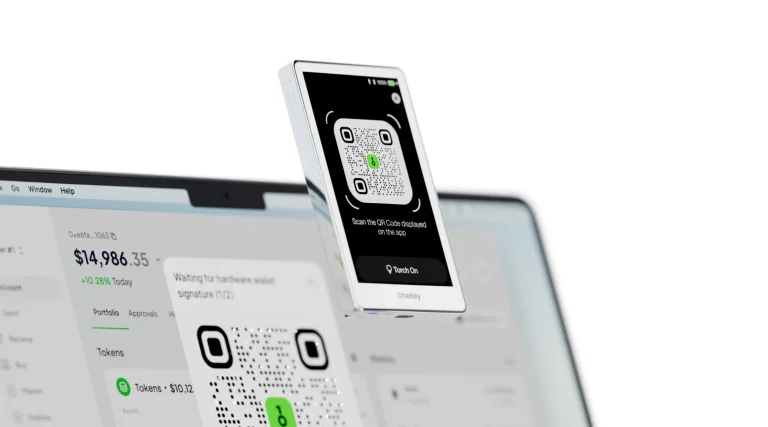
The Keystone 3 Pro (~$129–$149) is the QR-based hardware wallet MetaMask supports natively. No cable, no radio: the extension shows a QR code, the Keystone scans it, displays the full transaction on its 4-inch screen, signs, and answers with a QR code of its own. For DeFi this is the clearest verification experience on the list, because complete contract data fits on one readable display. The price you pay is a scan-and-scan-back rhythm on every transaction.
For a direct comparison with a Ledger, see Keystone 3 Pro vs Ledger Nano X.
Our Keystone 3 Pro setup guide covers getting it paired the first time.
Specifications | |
|---|---|
| Display | 4″ IPS color touchscreen |
| Connectivity | QR codes only (air-gapped) |
| Camera | Built-in for QR scanning |
| Processing | ARM Cortex-A7 quad-core |
| Battery | 1400mAh rechargeable |
| Supported Assets | Bitcoin, Ethereum, 200+ others |
| Dimensions | 107 x 54 x 16 mm |
| Weight | 80 grams |
| Security | Open-source firmware |
| Storage | MicroSD card slot |
5. SafePal S1: Best for On-the-Go MetaMask Users
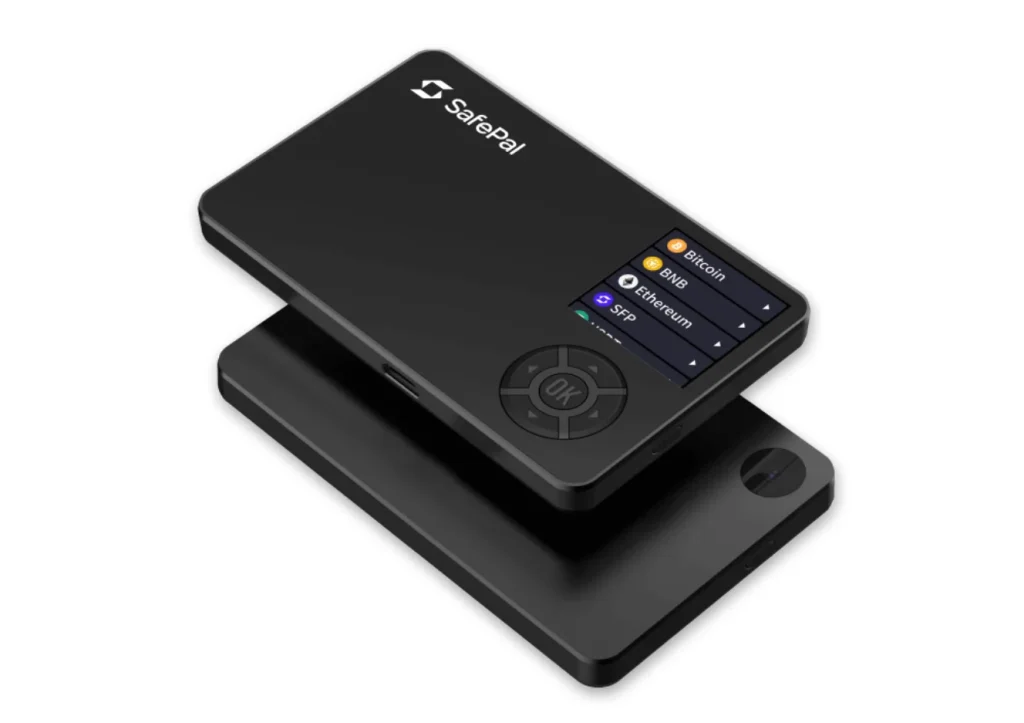
The S1 ($49.99) reaches MetaMask through its QR-based system, with the SafePal app sitting in the middle. It works, but it is clunkier than the native pairings above. Its case here is purely economic: hardware-confirmed signing for the price of a night out. Heavy MetaMask users will outgrow the small 1.3-inch screen quickly; occasional users may never need to.
Read our SafePal S1 review for the full picture.
Specifications | |
|---|---|
| Display | 1.3″ color LCD |
| Connectivity | QR codes + mobile app |
| Battery | 370mAh rechargeable |
| Processing | Secure Element (EAL5+) |
| Supported Assets | 100+ blockchains, 10,000+ tokens |
| Dimensions | 58 x 25 x 9.7 mm |
| Weight | 27 grams |
| Charging | Wireless charging support |
| Mobile App | SafePal App (iOS/Android) |
| Recovery | 12-word mnemonic phrase |
How to Choose the Right Hardware Wallet for MetaMask
Five filters, in the order that matters for MetaMask work:
1. Security Features
All five keep your keys inside dedicated hardware. What separates them is the screen and the philosophy. For DeFi, screen size is a security feature: the Keystone and Model T let you read a contract interaction in full, while two-line devices ask you to take more on faith. Philosophy splits the usual way: certified-but-closed (Ledger, SafePal) versus open-source (Trezor, Keystone).
2. Connectivity Options
USB is the no-fuss default for the browser extension. Bluetooth (Nano X) adds MetaMask on your phone. A QR air-gap (Keystone, SafePal) removes the connection entirely, at the cost of speed. Frequent traders lean toward USB; security maximalists accept the QR ritual.
3. Budget and Value
Prices run from $49.99 to about $149, and none of that money buys different key security. It buys screens, radios, and comfort. The S Plus at $59 is the sweet spot for desktop-only MetaMask; spend more for mobility (Nano X) or a bigger verification screen (Keystone).
4. Ease of Use
Native pairings (Ledger, Trezor) feel like part of MetaMask. QR flows add a rhythm you either mind or do not. Be honest about how often you transact and match the friction to it: the setup you find annoying is the setup you will eventually bypass, and a bypassed hardware wallet protects nothing.
5. MetaMask Compatibility
All five work with MetaMask’s hardware wallet flow. Ledger, Trezor, and Keystone are the first-class citizens; SafePal goes through its own app. After a major MetaMask update, pairing quirks sometimes surface and usually get patched within days. That is a known rhythm of the ecosystem, not a dealbreaker.
How to Use a Hardware Wallet With MetaMask
The full connection, step by step. It takes about five minutes:
What You’ll Need
Your hardware wallet (set up, firmware current), the MetaMask extension from metamask.io (type the domain, do not search for it), and for Ledger devices, the Ethereum app installed through Ledger Live.
- MetaMask extension installed and set up
- A compatible hardware wallet (Ledger, Trezor, Keystone, or SafePal)
- A USB cable, or Bluetooth or QR codes, depending on the device
- Device unlocked and ready
- Optional: the companion app (Ledger Live, Trezor Suite, or Keystone Companion)
Step 1: Prepare Your Hardware Wallet
Set up the device normally first: seed generated on the device and backed up (steel beats paper), PIN set, firmware updated through the official app. MetaMask never sees your seed at any point in this process. If anything claiming to be MetaMask asks for it, stop. That is the scam.
- Turn on your hardware wallet and unlock it with your PIN.
- Open the Ethereum app (Ledger) or make sure the device is ready for Ethereum.
- Update the firmware, then close Ledger Live or Trezor Suite so MetaMask can talk to the device directly.
Step 2: Open MetaMask in Your Browser
Open the extension, click the account selector, and choose “Add hardware wallet.” Your existing hot accounts stay hot; only the new hardware accounts sign on the device.
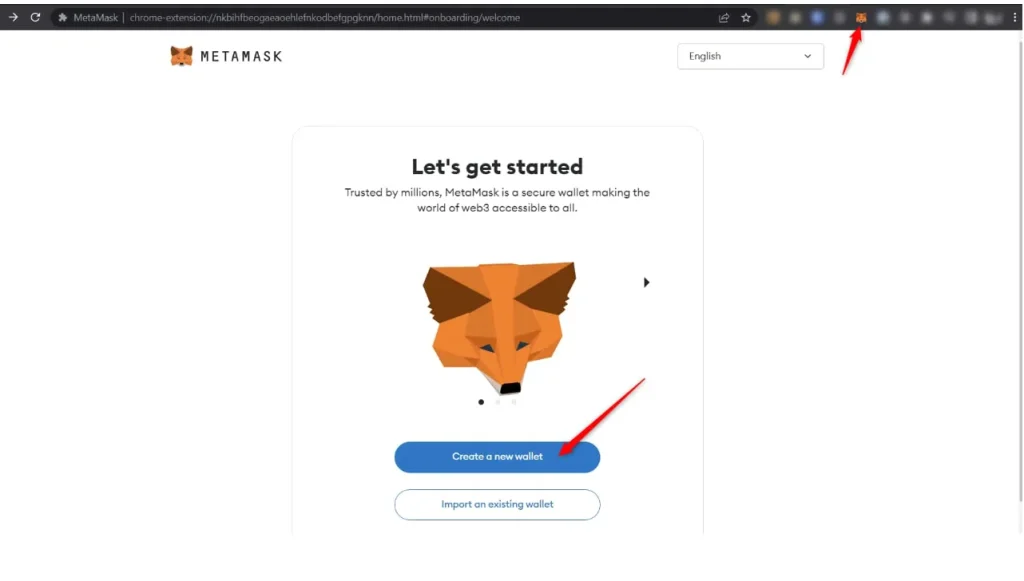
- Click the MetaMask icon in your browser toolbar.
- Check that you are on Ethereum Mainnet or another network you use.
Step 3: Start the Connection
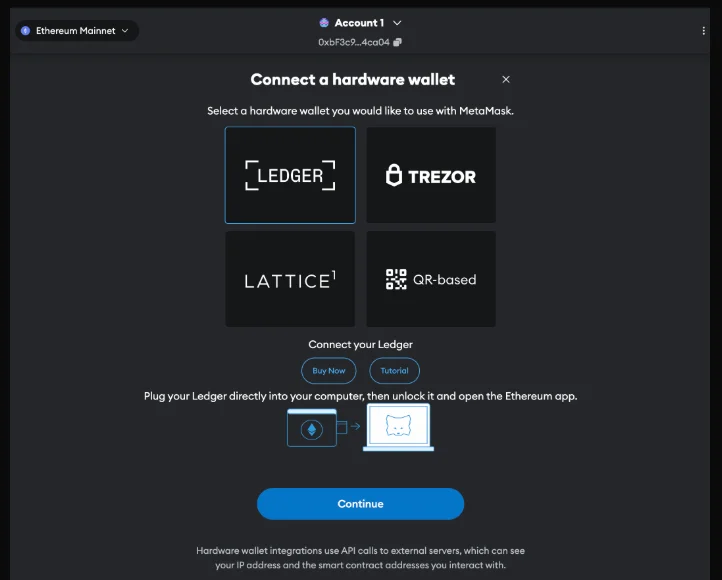
Pick your brand from the list. USB devices should be unlocked and, for Ledger, sitting in the Ethereum app. Keystone users choose the QR option instead of a cable.
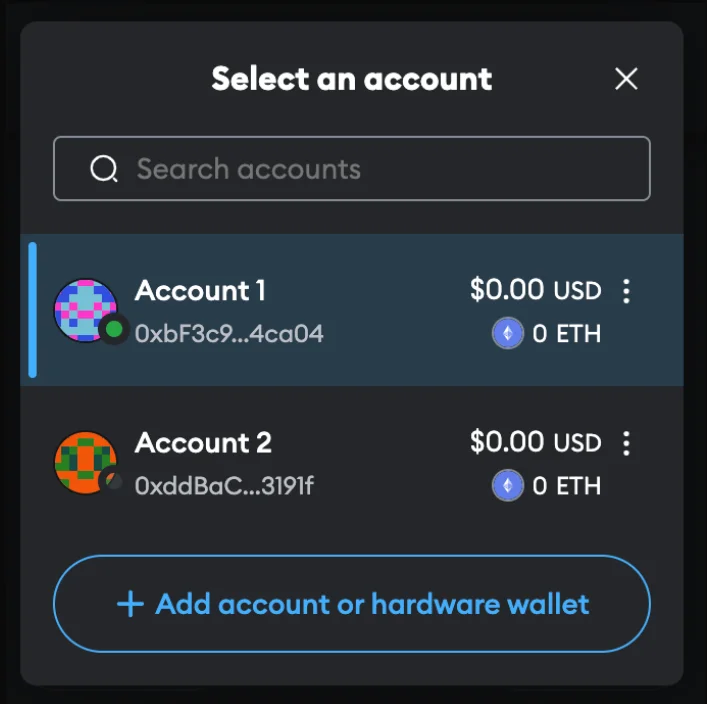
- Select your brand (Ledger, Trezor, Keystone, or SafePal).
- Plug in or unlock the device when MetaMask prompts you.
Step 4: Choose Your Device
MetaMask lists the addresses your device derives. Select the account or accounts you want to import. The same seed always produces the same addresses, so reconnecting later restores exactly these accounts.
- Tick the address or addresses you want to use.
- Click Unlock to add them to MetaMask.
Step 5: Approve the Connection on Your Device
Confirm the pairing on the hardware screen. From now on, that screen is the source of truth. Whatever a website claims, the transaction the device displays is the transaction that executes.
- Confirm the connection on your device’s screen if asked.
- Check that the address on the device matches the one in MetaMask.
- Approve or unlock the address.
Step 6: Use Your Hardware Wallet With MetaMask
Trade, mint, and sign as usual: MetaMask builds the transaction, the device confirms it. Token approvals and permits deserve extra attention. Read the spender and the amount on the hardware display, and treat an unlimited approval to an unknown contract as the red flag it is. That one signature can let a contract drain the token later, with no further prompt.
- Your hardware wallet address now appears as a new account inside MetaMask.
- It works like any MetaMask account, except every transaction must be approved on the device.
- Use dApps, NFTs, and DeFi as before, with your keys offline the whole time.
Notes and Best Practices
- Always check the address on the device screen before approving any transaction.
- Keystone and SafePal users scan QR codes back and forth between the device and MetaMask for each transaction.
Four habits make the pairing worth it. Keep a separate hot account for experiments and use the hardware accounts for anything of value. Review and revoke stale token approvals regularly. Enable blind signing only when a transaction needs it, and disable it afterward. And never let a “support agent,” popup, or update prompt lead you to type your seed phrase anywhere: the phrase never leaves the steel it is stamped on.
If the second habit sounds vague, this walkthrough on revoking old token approvals shows the steps.
If MetaMask cannot find your device, check that:
- Browser support is switched on in the device settings (USB devices).
- You are using a supported desktop browser such as Chrome or Firefox.
- Companion apps like Ledger Live or Trezor Suite are closed, because an open app can hold the USB connection.
FAQ
Is MetaMask a hot or cold wallet?
MetaMask is a hot wallet: it lives in your browser and is always online. That makes it easy to use and also exposes it to phishing and malware. Pairing it with a hardware cold wallet moves your keys offline, which is the smart move for long-term or high-value holdings.
Can you put any crypto in a hardware wallet?
Most, but not every coin on every device. Modern hardware wallets support Bitcoin, Ethereum, ERC-20 tokens, Solana, and many more, yet support varies by brand. Check the maker’s official supported-assets list before you send anything.
What are the drawbacks of MetaMask?
MetaMask is convenient and widely used, but it carries hot-wallet risks. Because it is online, it is exposed to phishing, browser attacks, and malware, and it has no built-in two-factor authentication. A hardware wallet fixes the biggest of these by requiring a physical confirmation for every transaction.
Why connect a hardware wallet to MetaMask?
Because it moves your private keys off the computer. MetaMask still builds the transaction and talks to the dApp, but the signature happens on the device and your keys never touch the internet. You keep MetaMask’s interface and gain cold-storage protection.
What happens if I lose my hardware wallet linked to MetaMask?
Your crypto is safe as long as you have your recovery seed phrase. Enter it into a new compatible hardware wallet and your accounts, balances, and MetaMask addresses come back exactly as they were. Without that phrase, the funds are gone for good, so store it offline in a safe place, never as a photo or a file.
Final Thoughts
Any of the five turns MetaMask from a browser hot wallet into a proper signing terminal. The short version: Nano X for mobility, S Plus for value, Model T for open-source instincts, Keystone for the biggest verification screen, SafePal for the tightest budget. The upgrade matters less for what it adds than for what it removes: an entire class of silent, malware-signed transactions that hardware confirmation makes impossible. Whichever you pick, your keys stay with you, and MetaMask looks and works the same day to day.
- Ledger Nano X for Bluetooth and mobile users.
- Trezor Model T for advanced security and open-source firmware.
- Ledger Nano S Plus for the best value.
- Keystone 3 Pro for air-gapped storage and full on-screen verification.
- SafePal S1 for the tightest budget and travel.
How I review: Reviewed by Andrei B. I buy the hardware wallets I review, test every product myself and score it on security, UI/UX, ease of use, price and supported coins. Before I publish, I also check recent user reviews and any hack reports.
The whole process is explained on the How We Review page. You can read more about me, or contact me with corrections, from the links at the bottom of this page. For general safety advice, see the FTC guide to cryptocurrency scams.